Milking Stool
(Finished 01/12/2025)

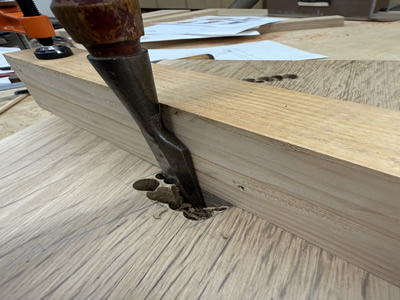
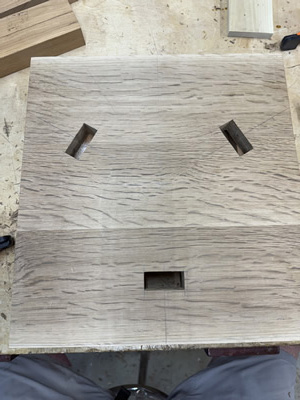
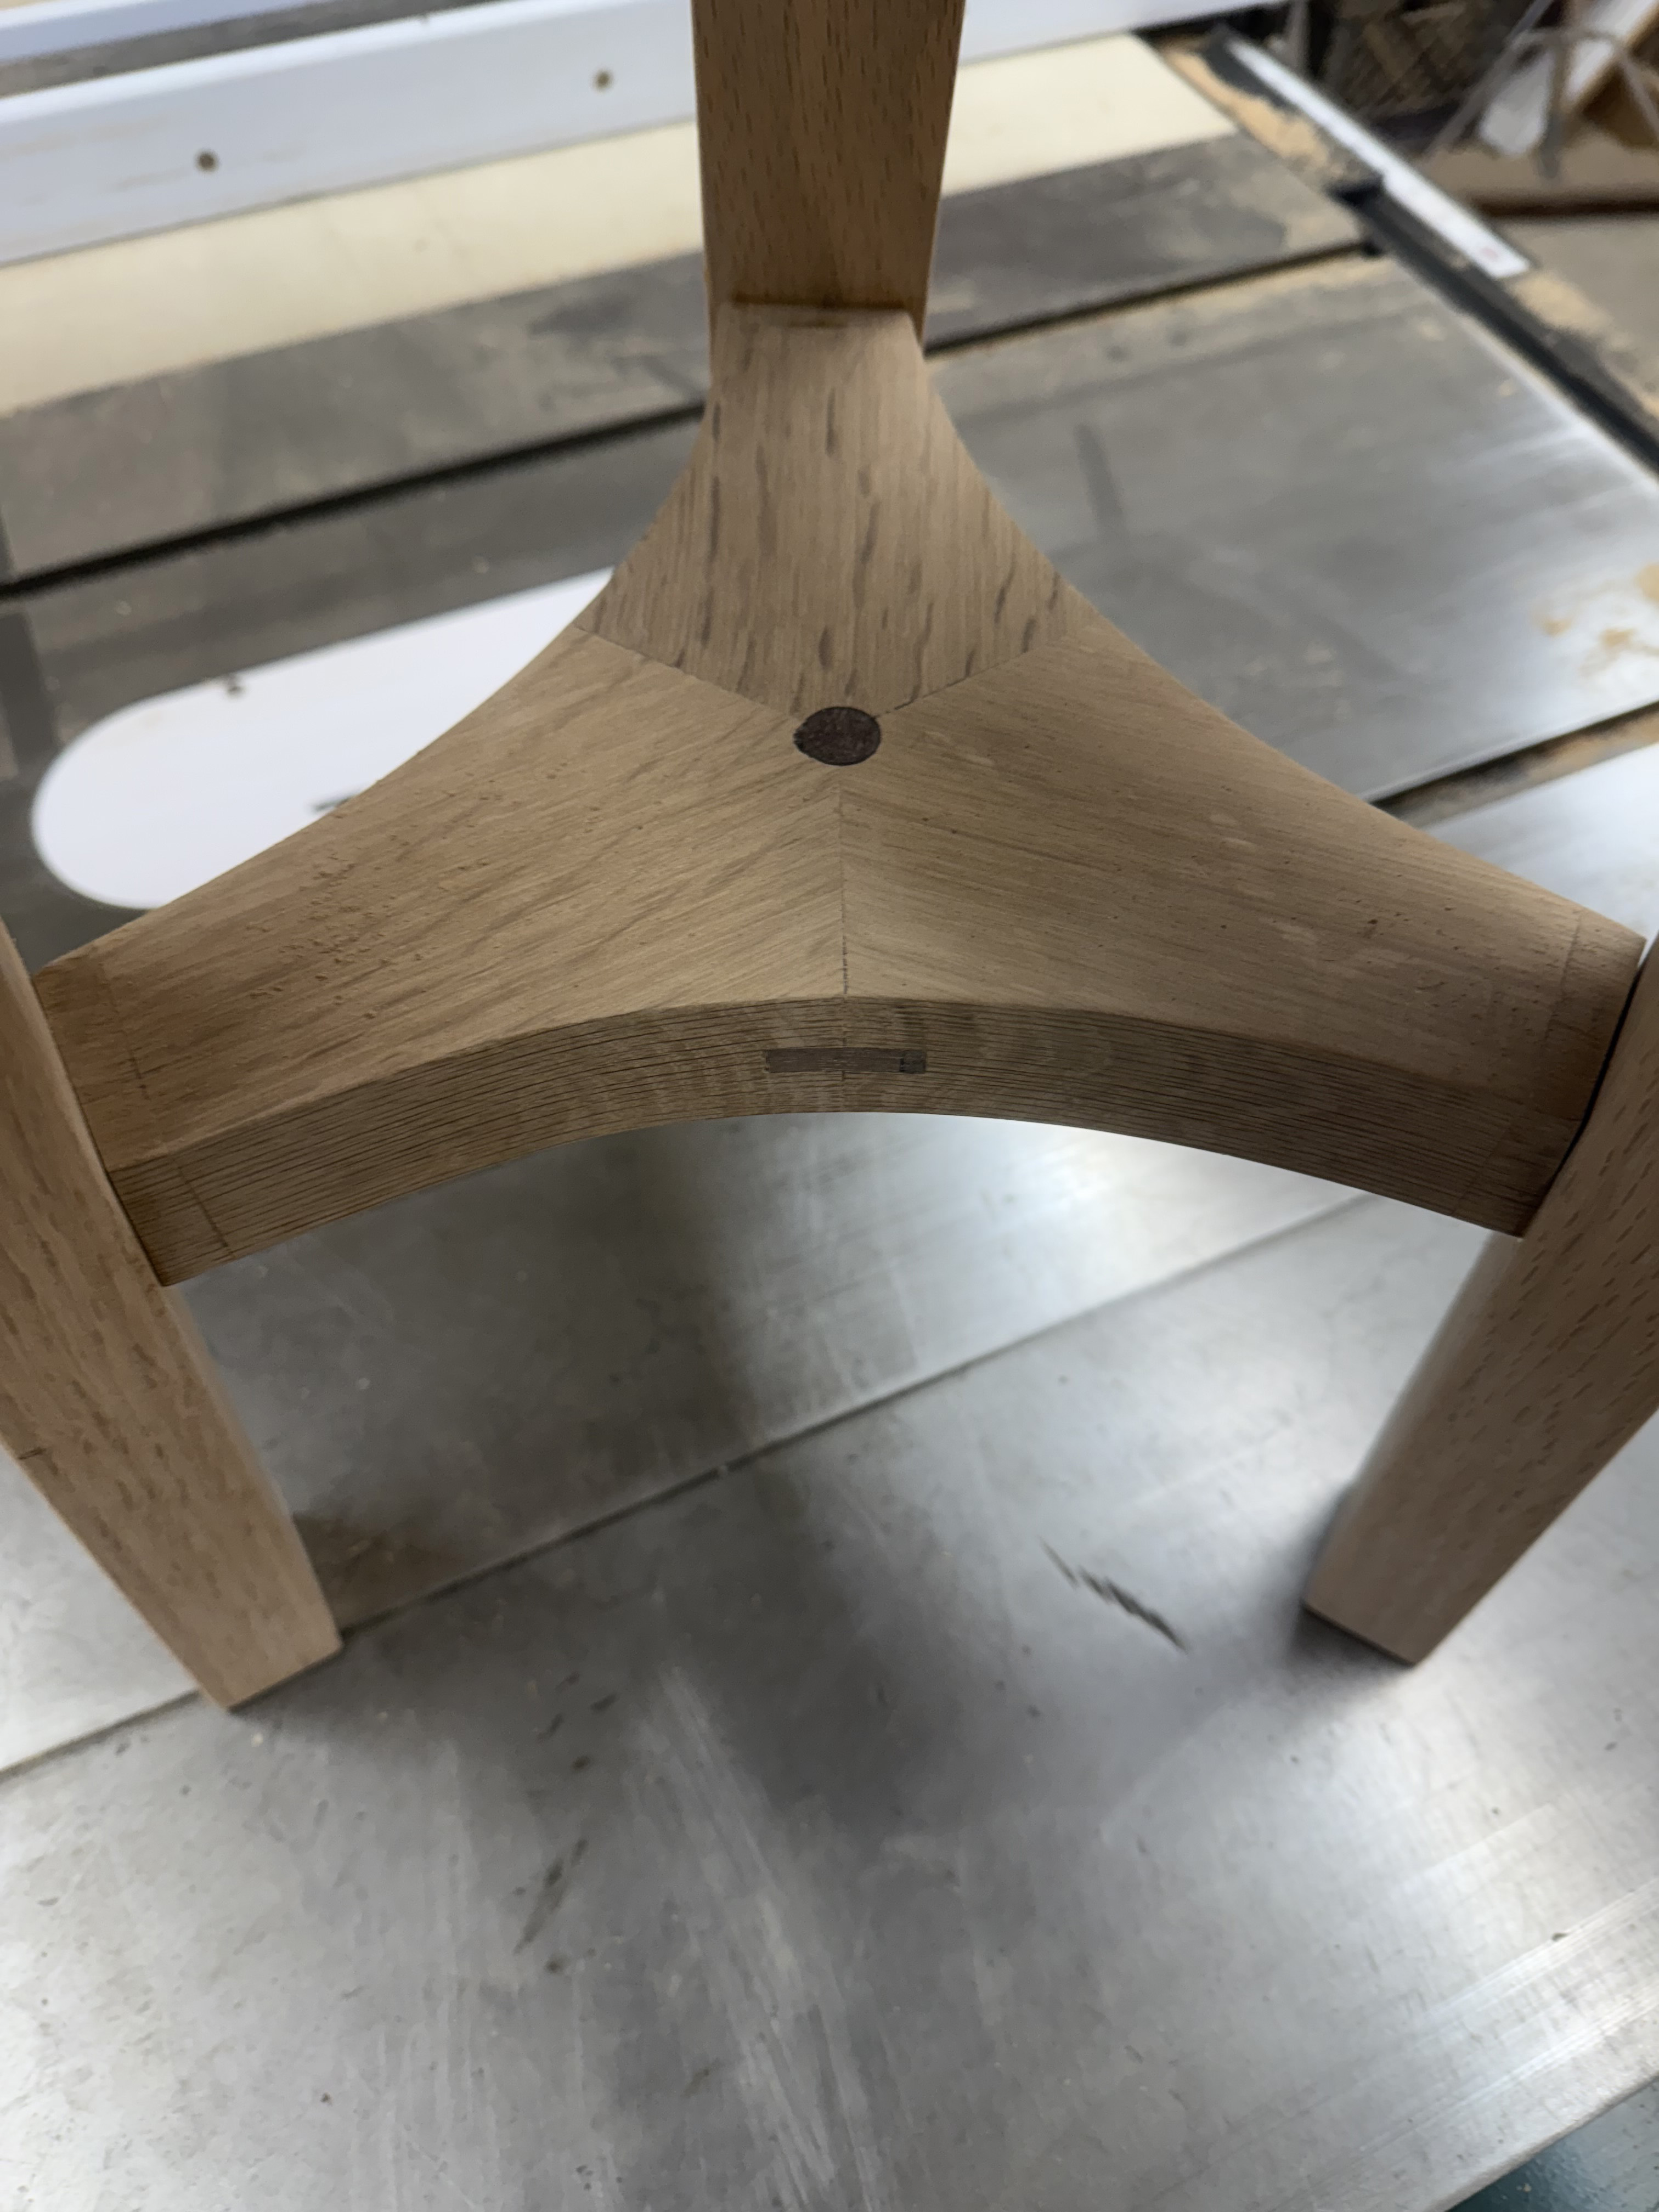
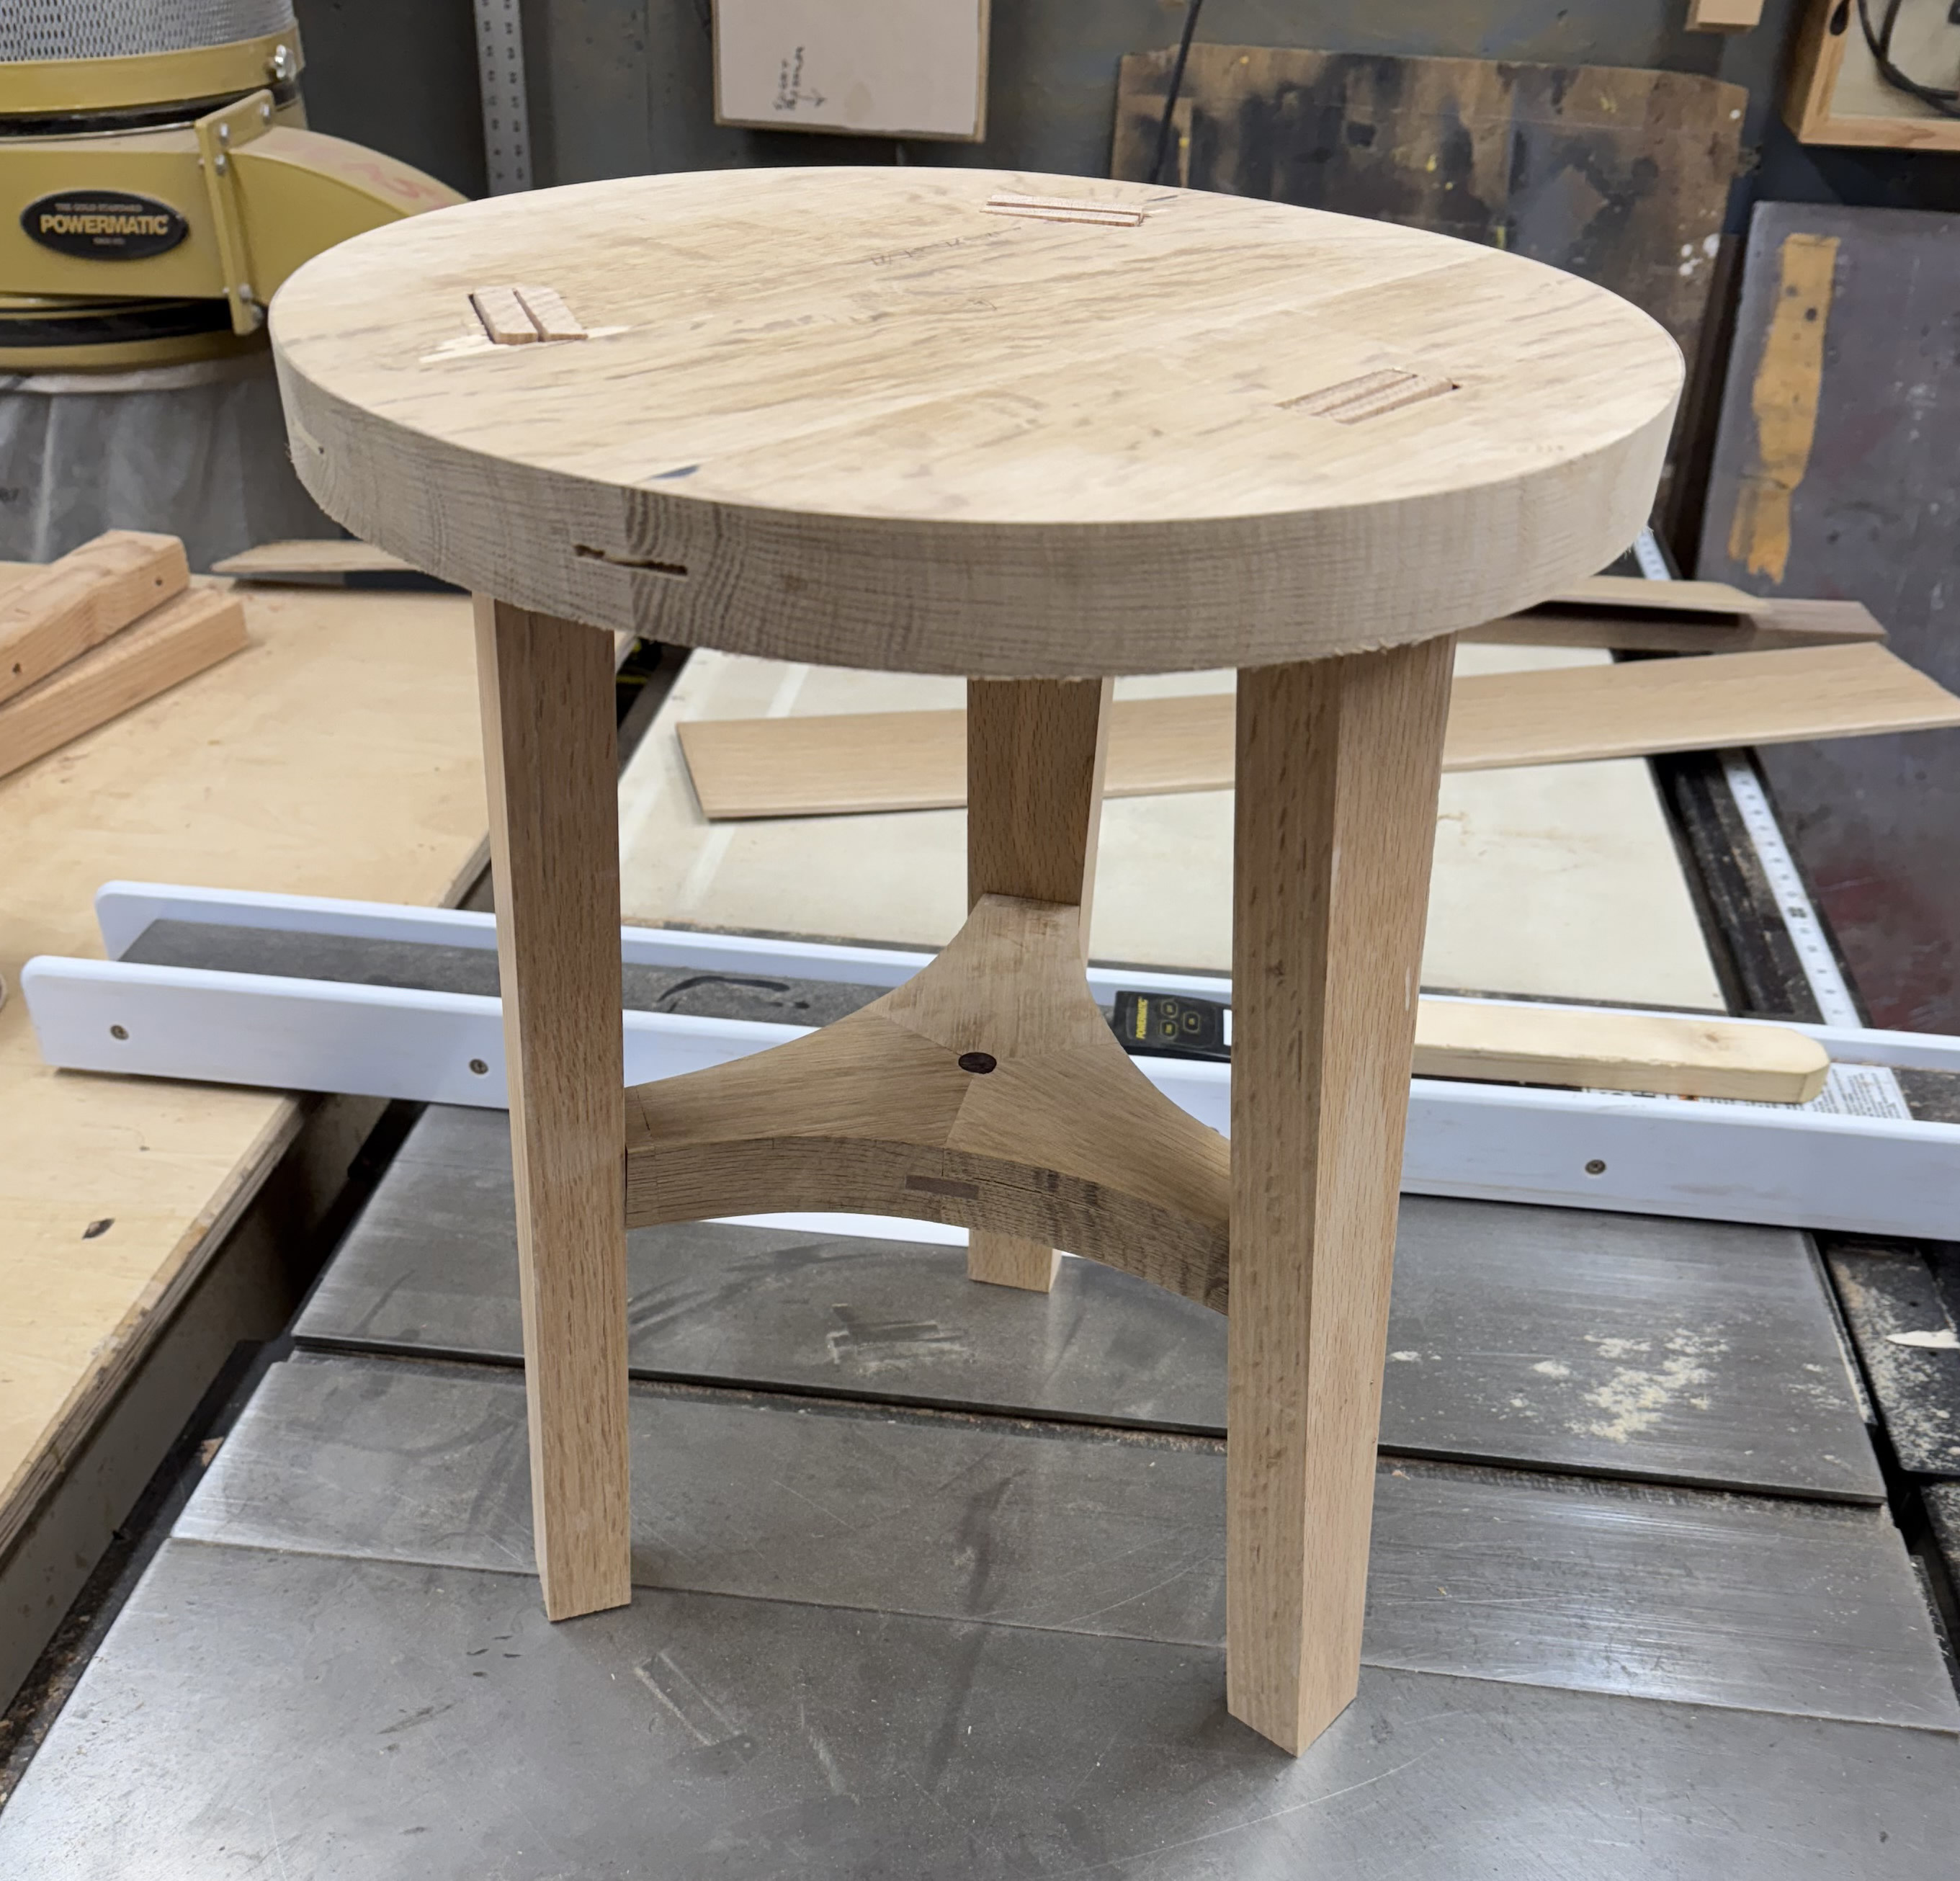
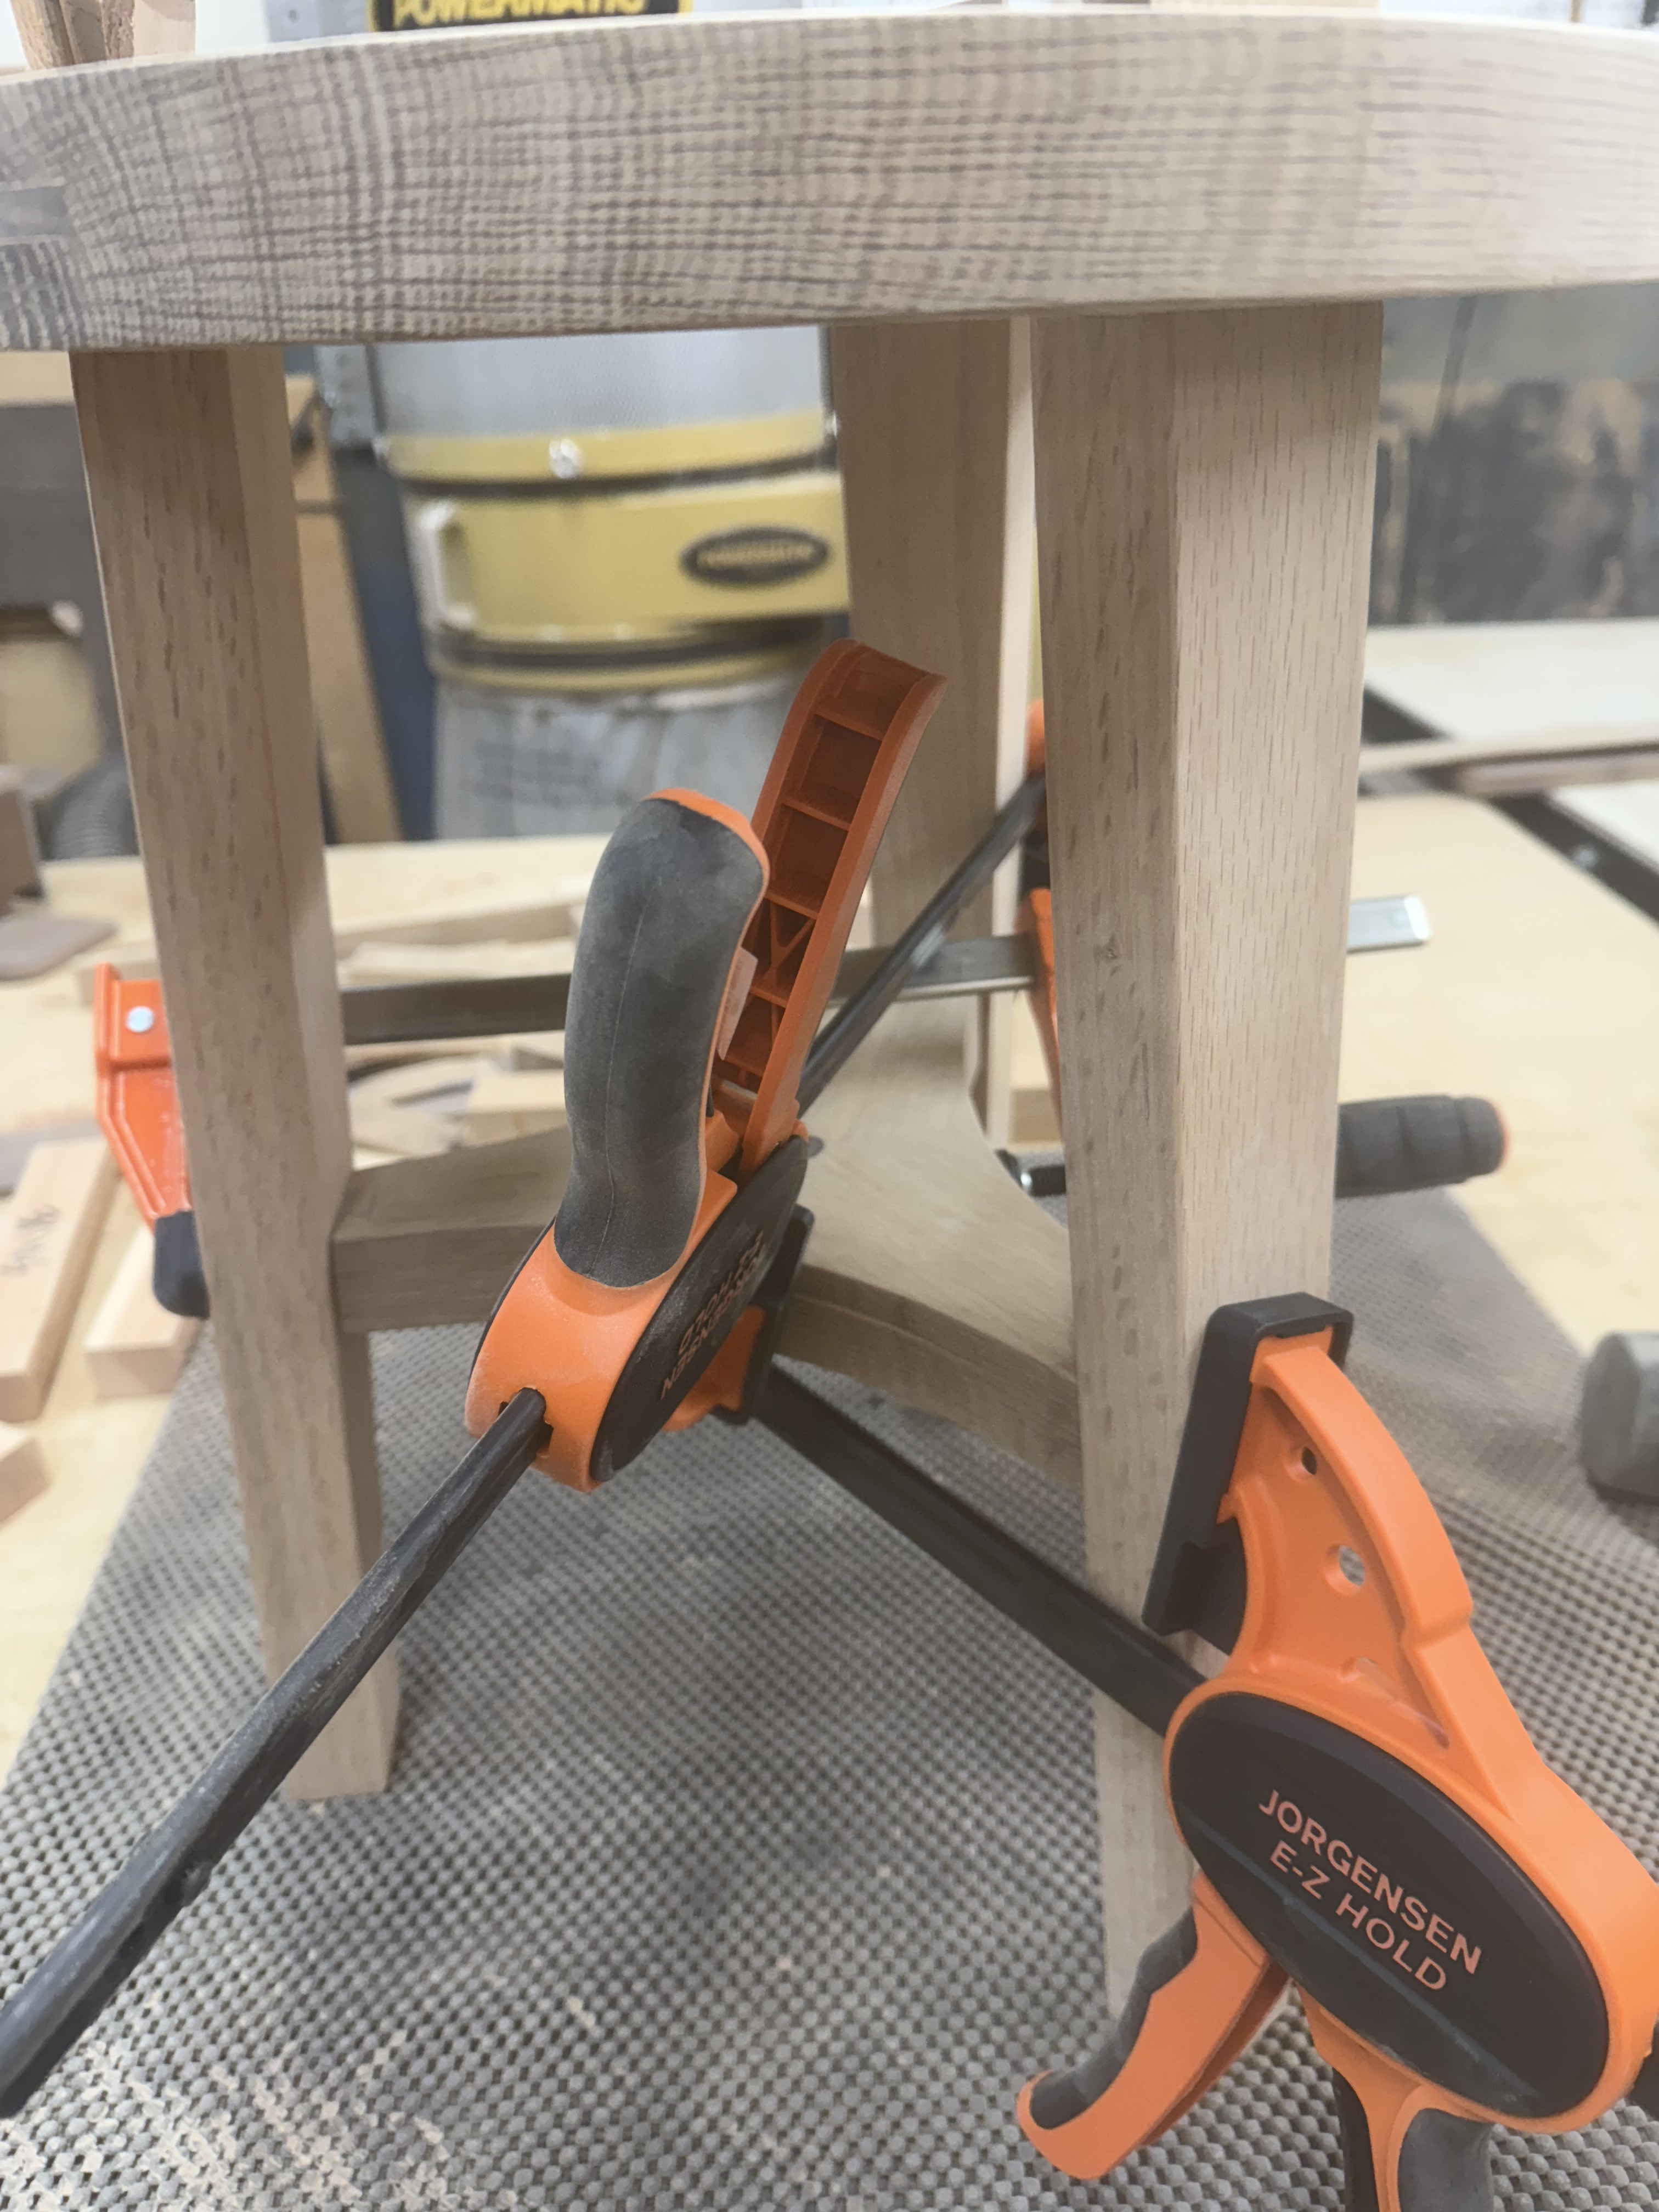
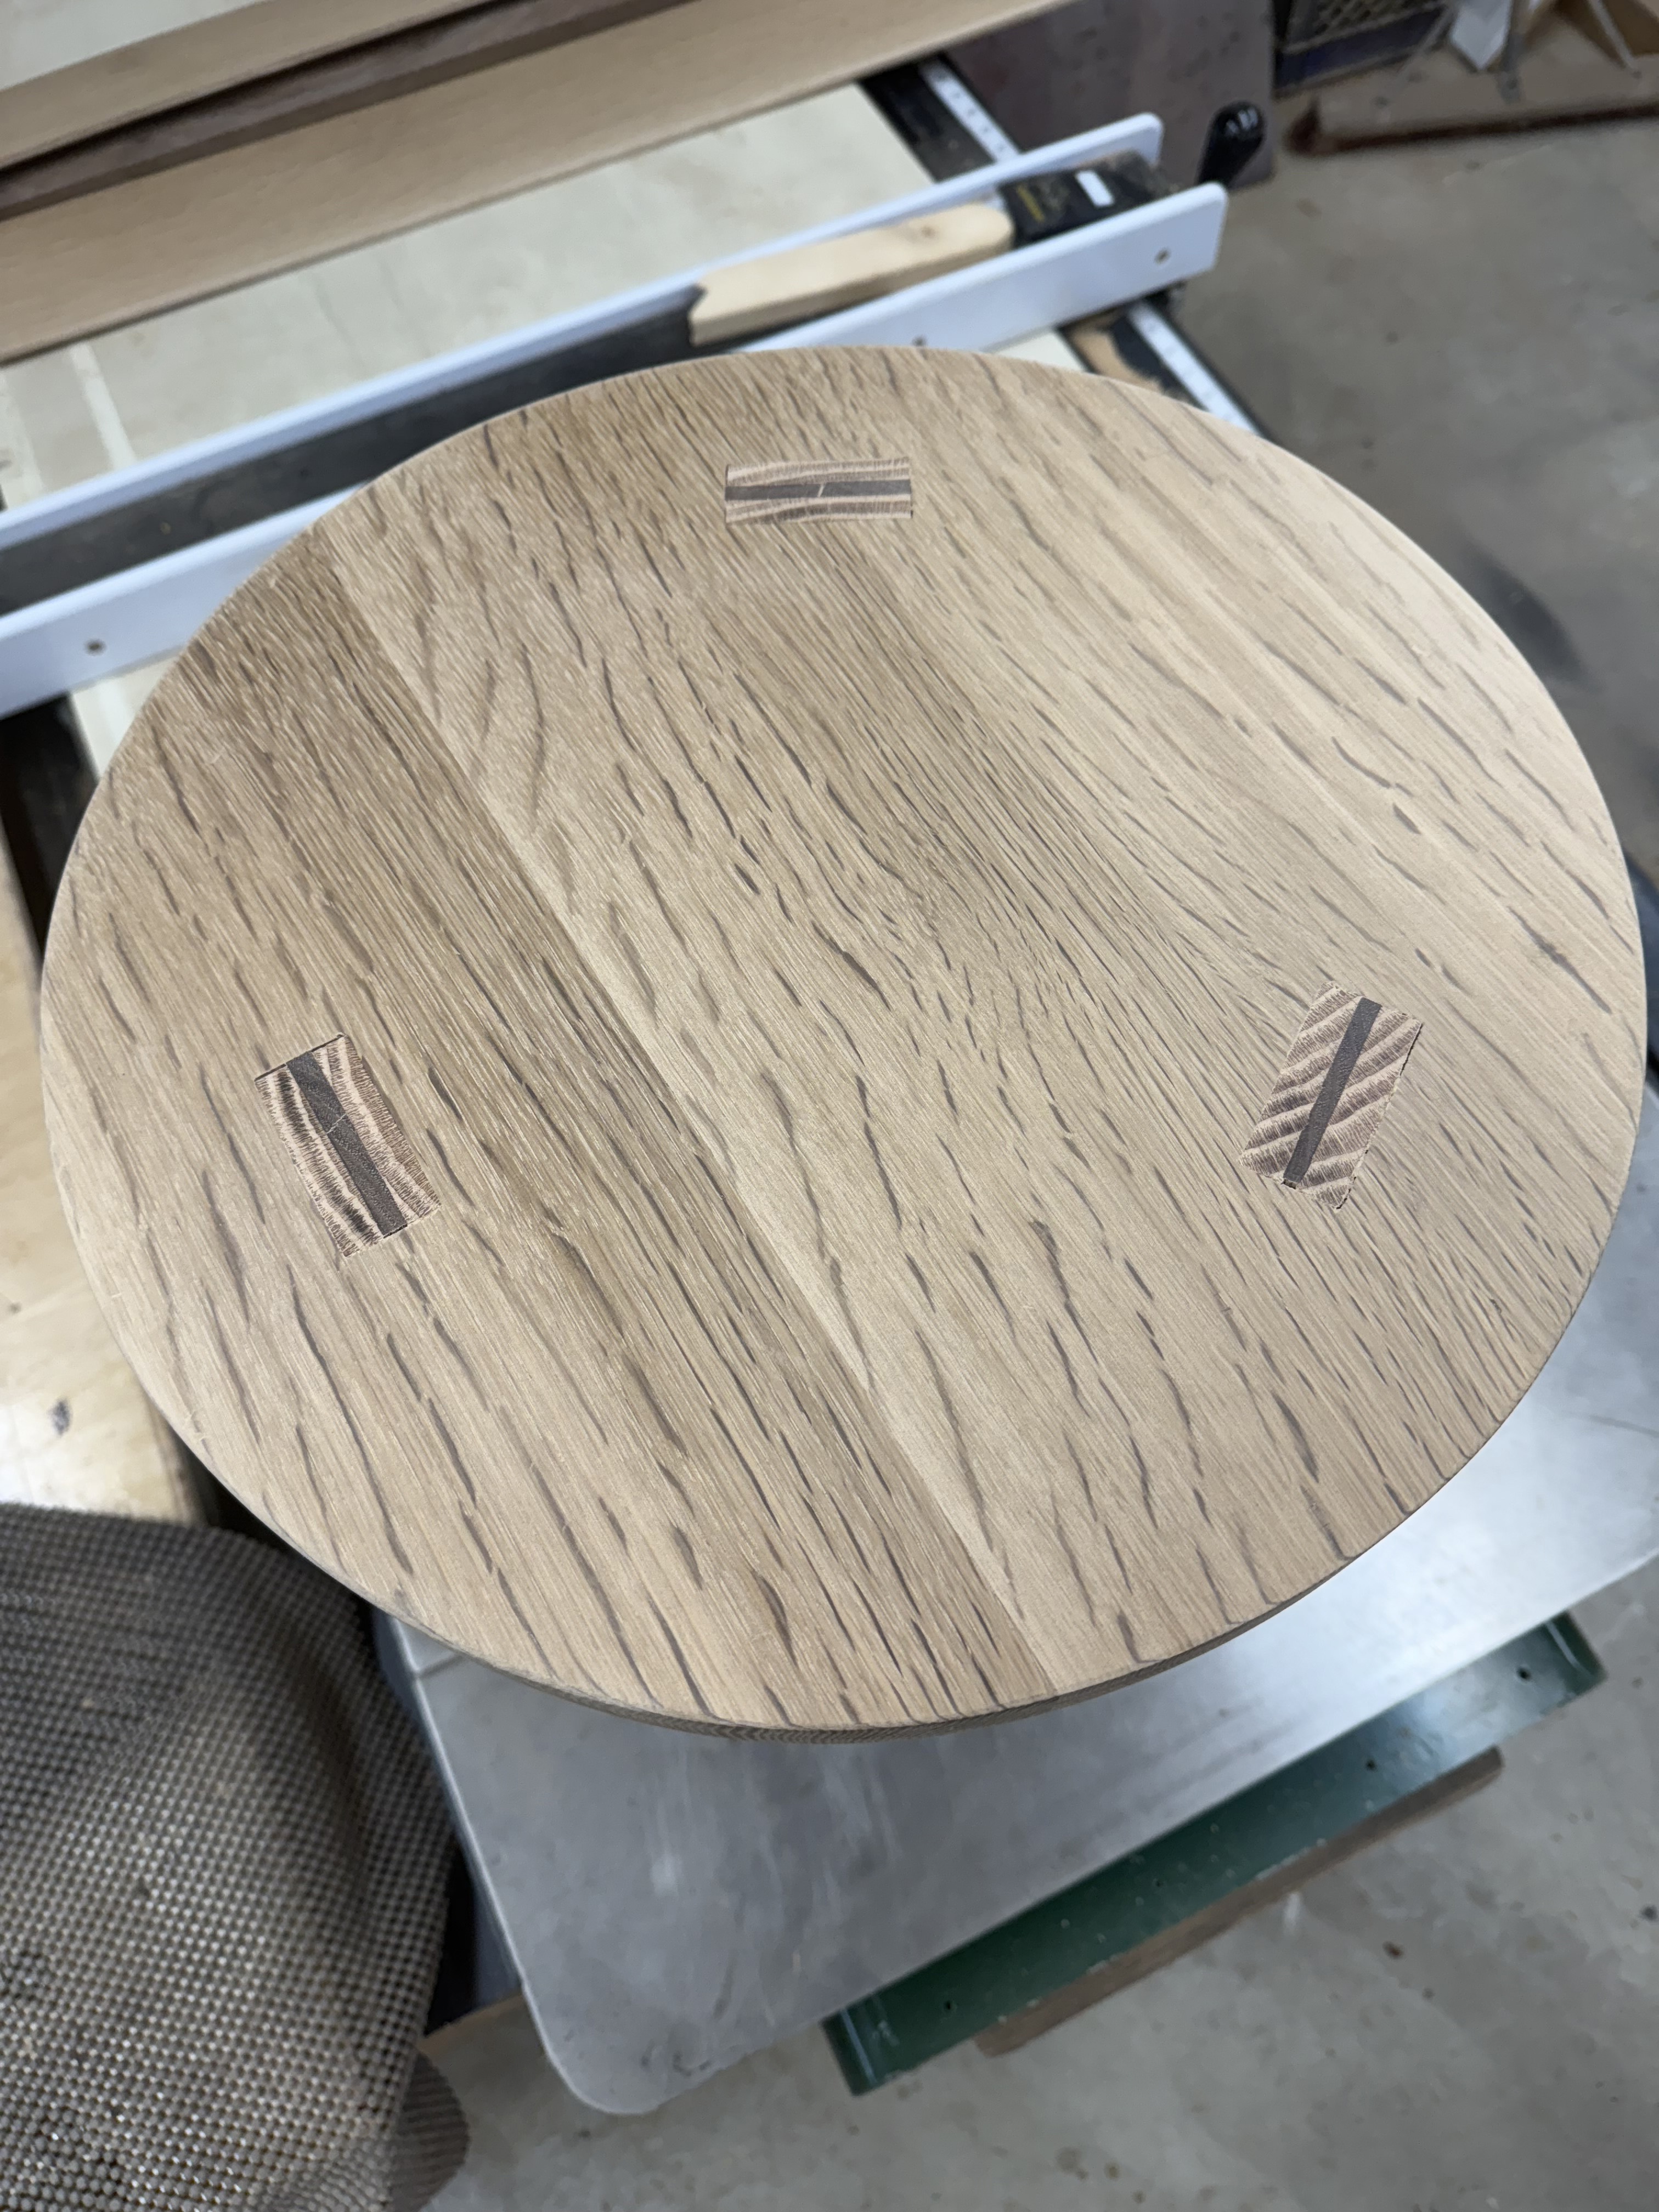
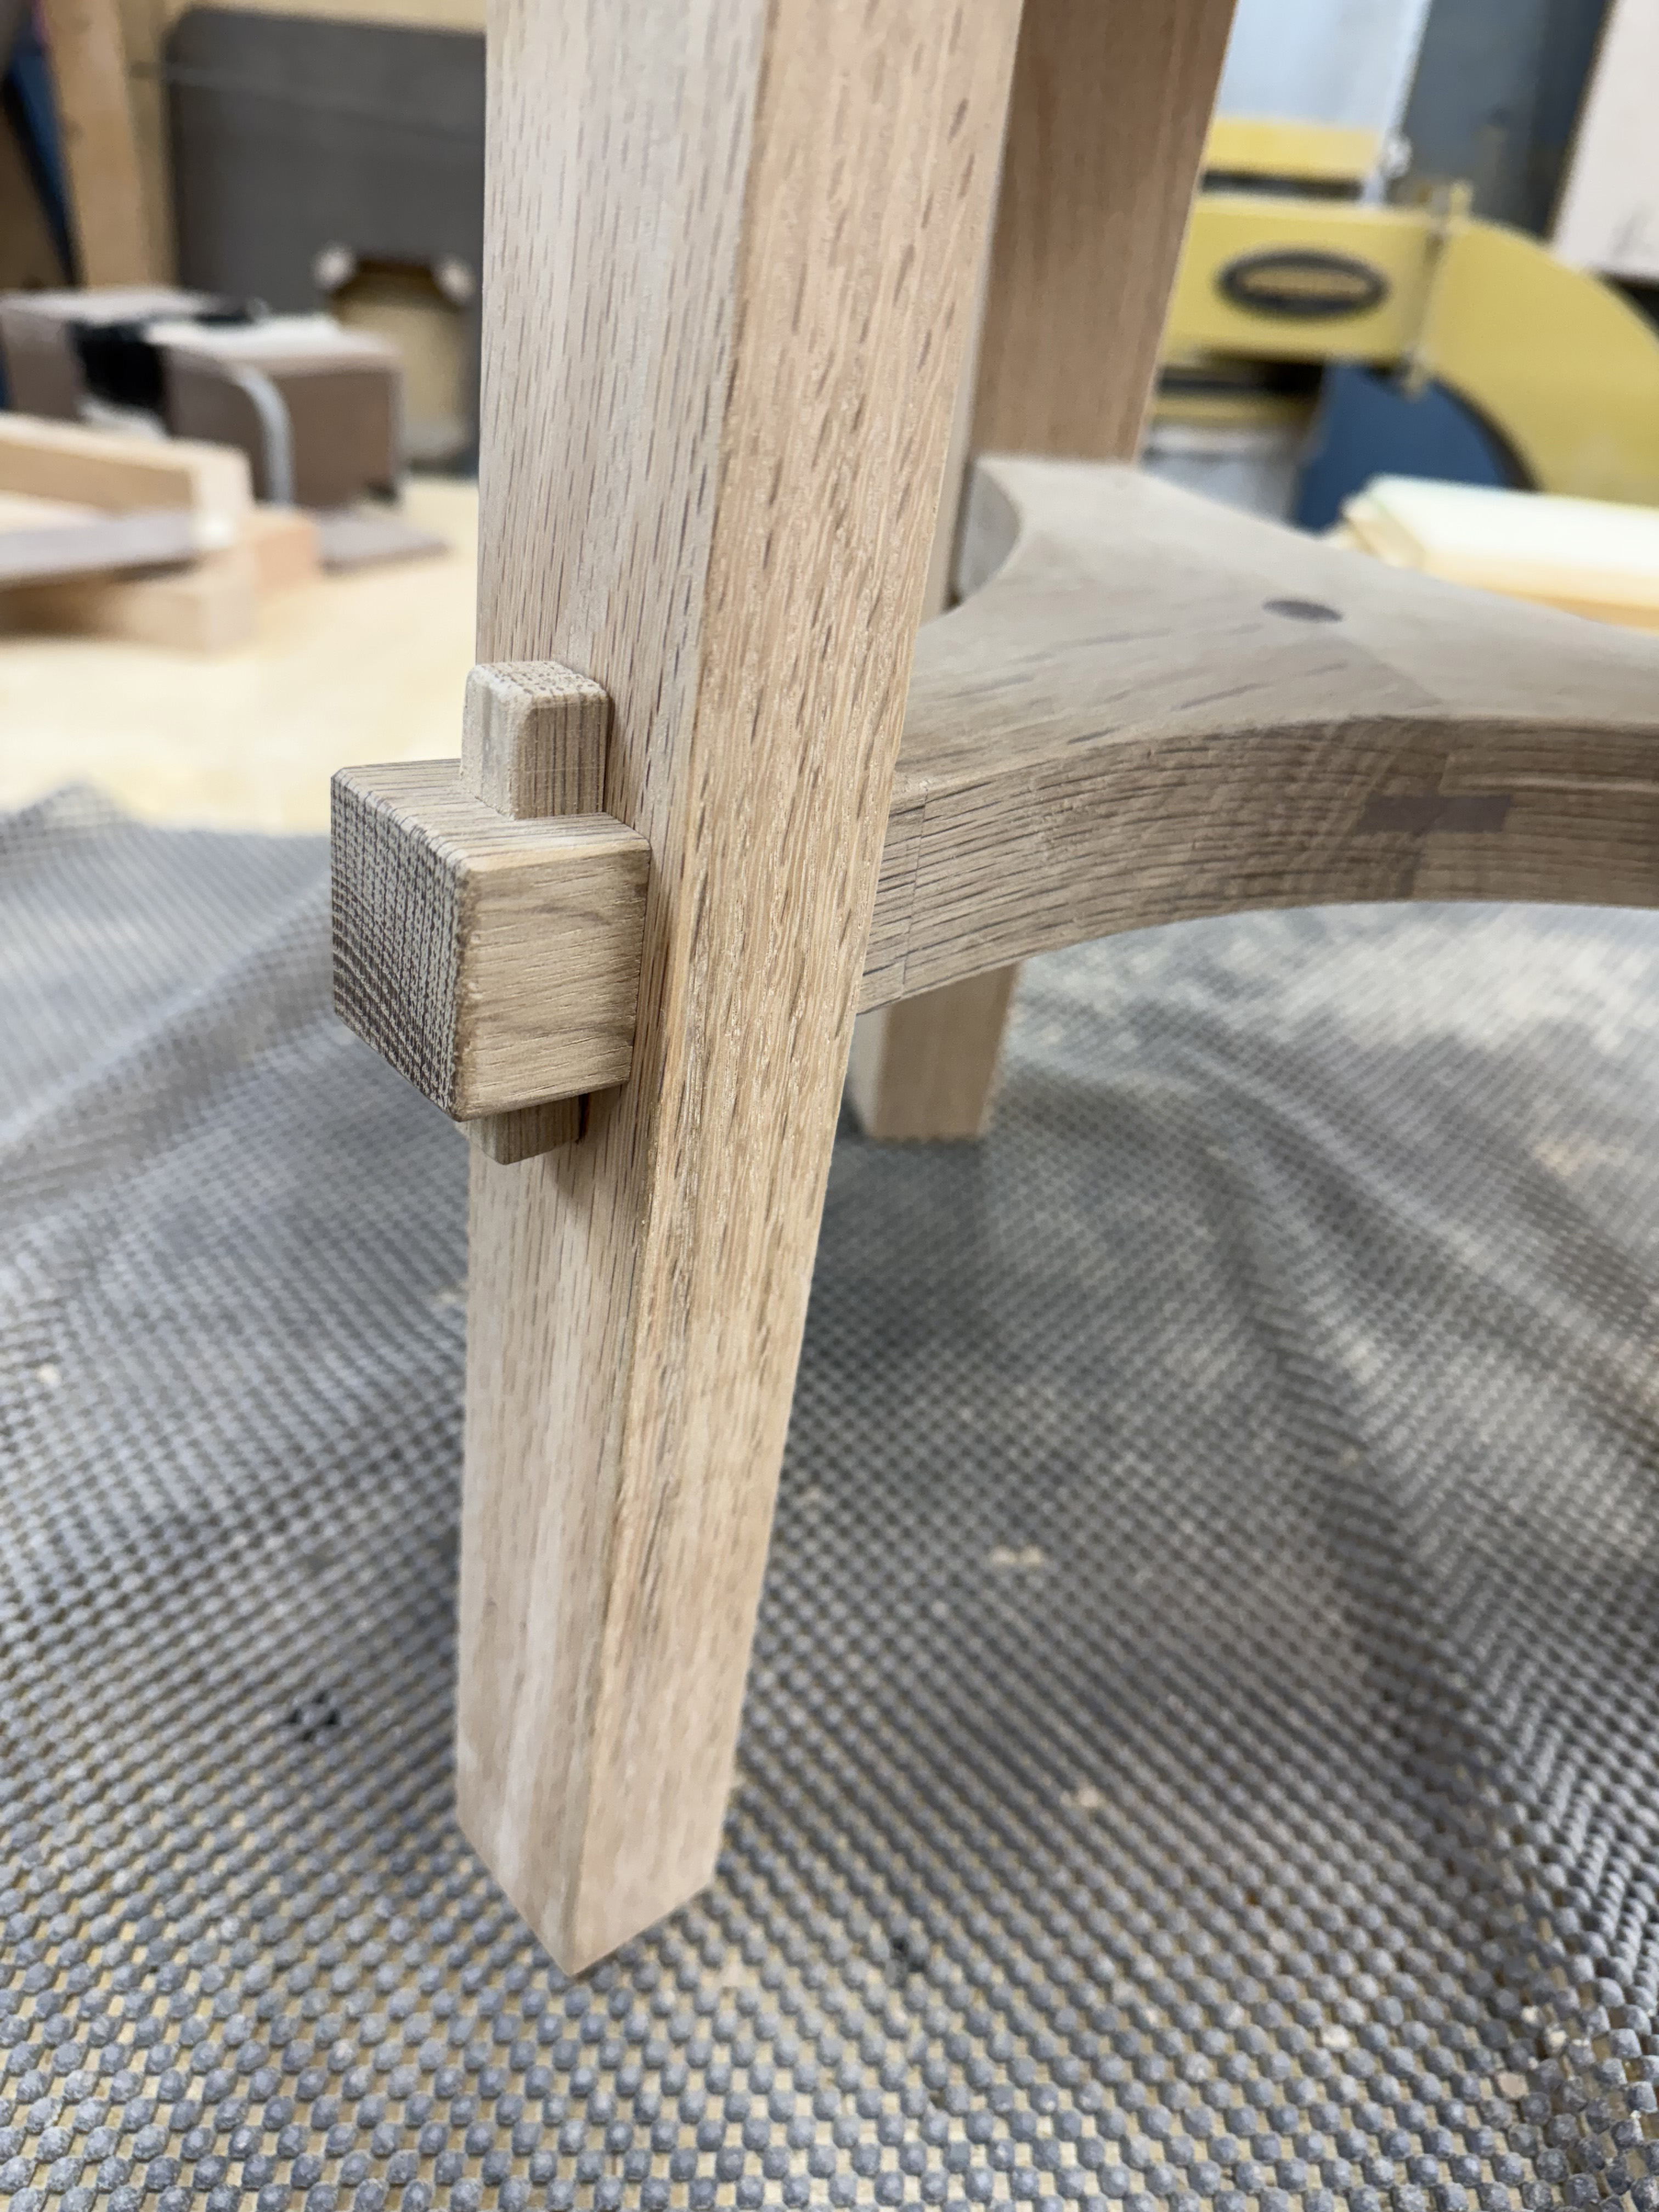
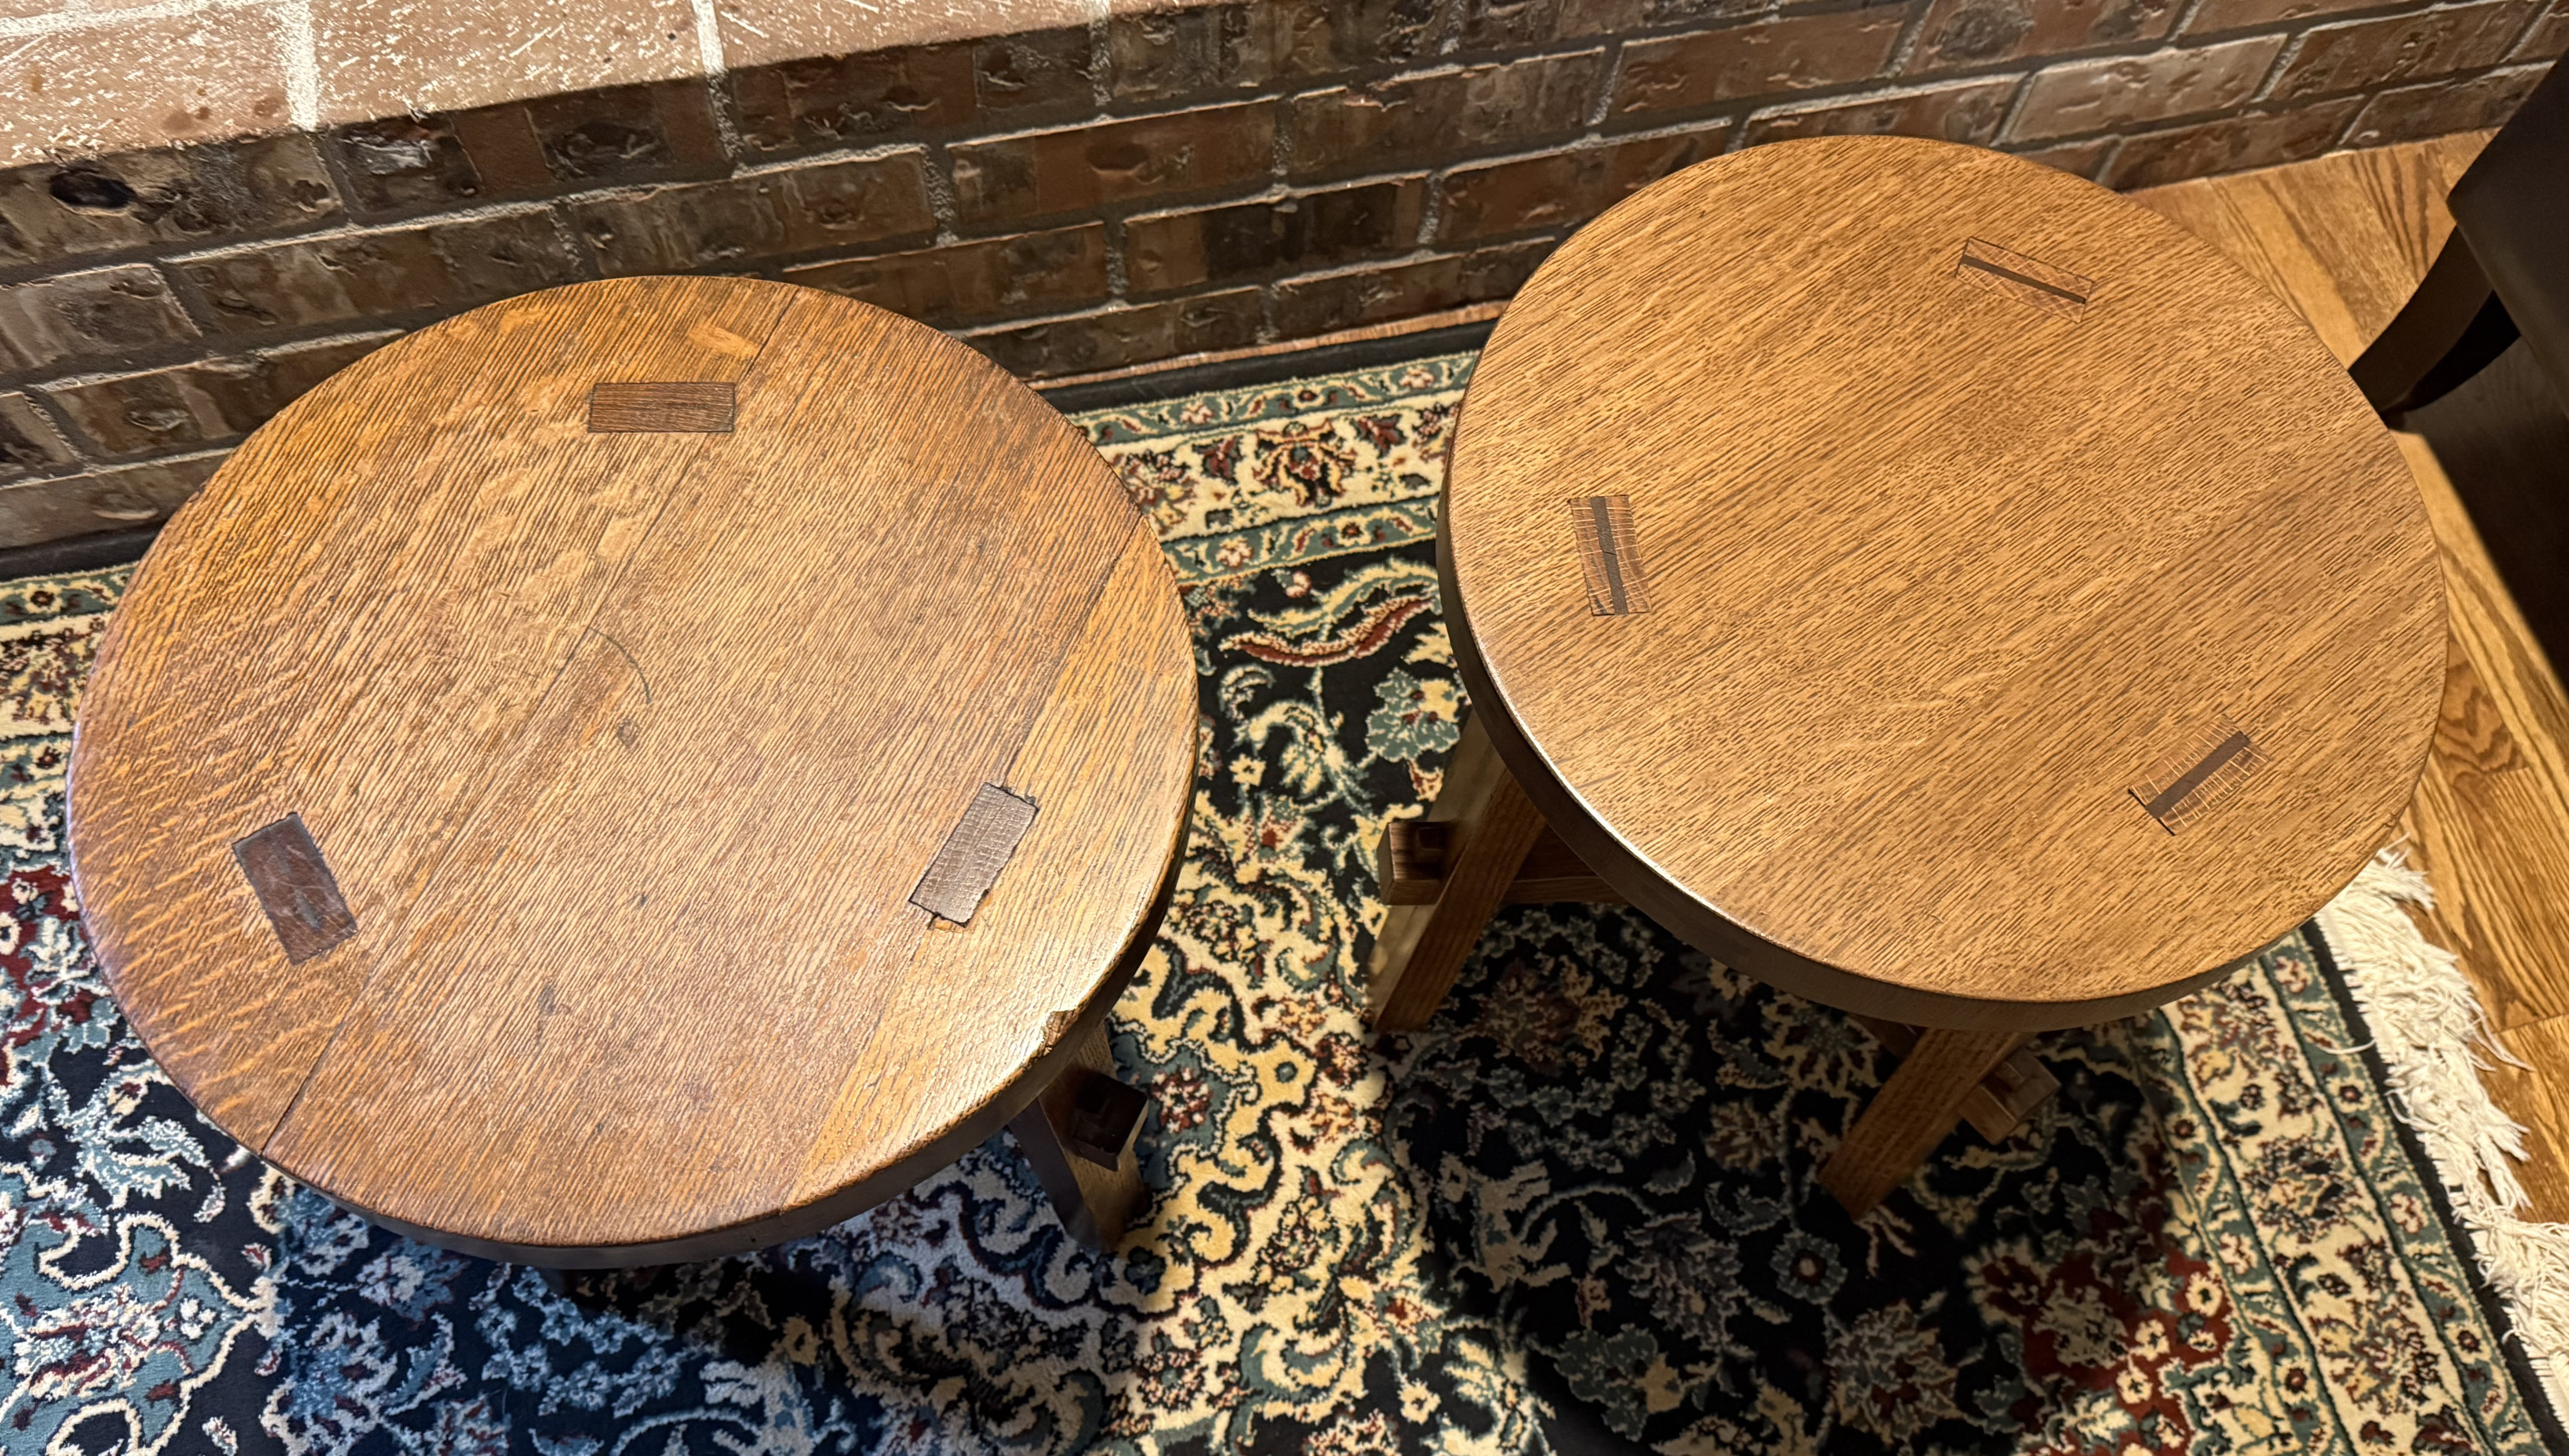
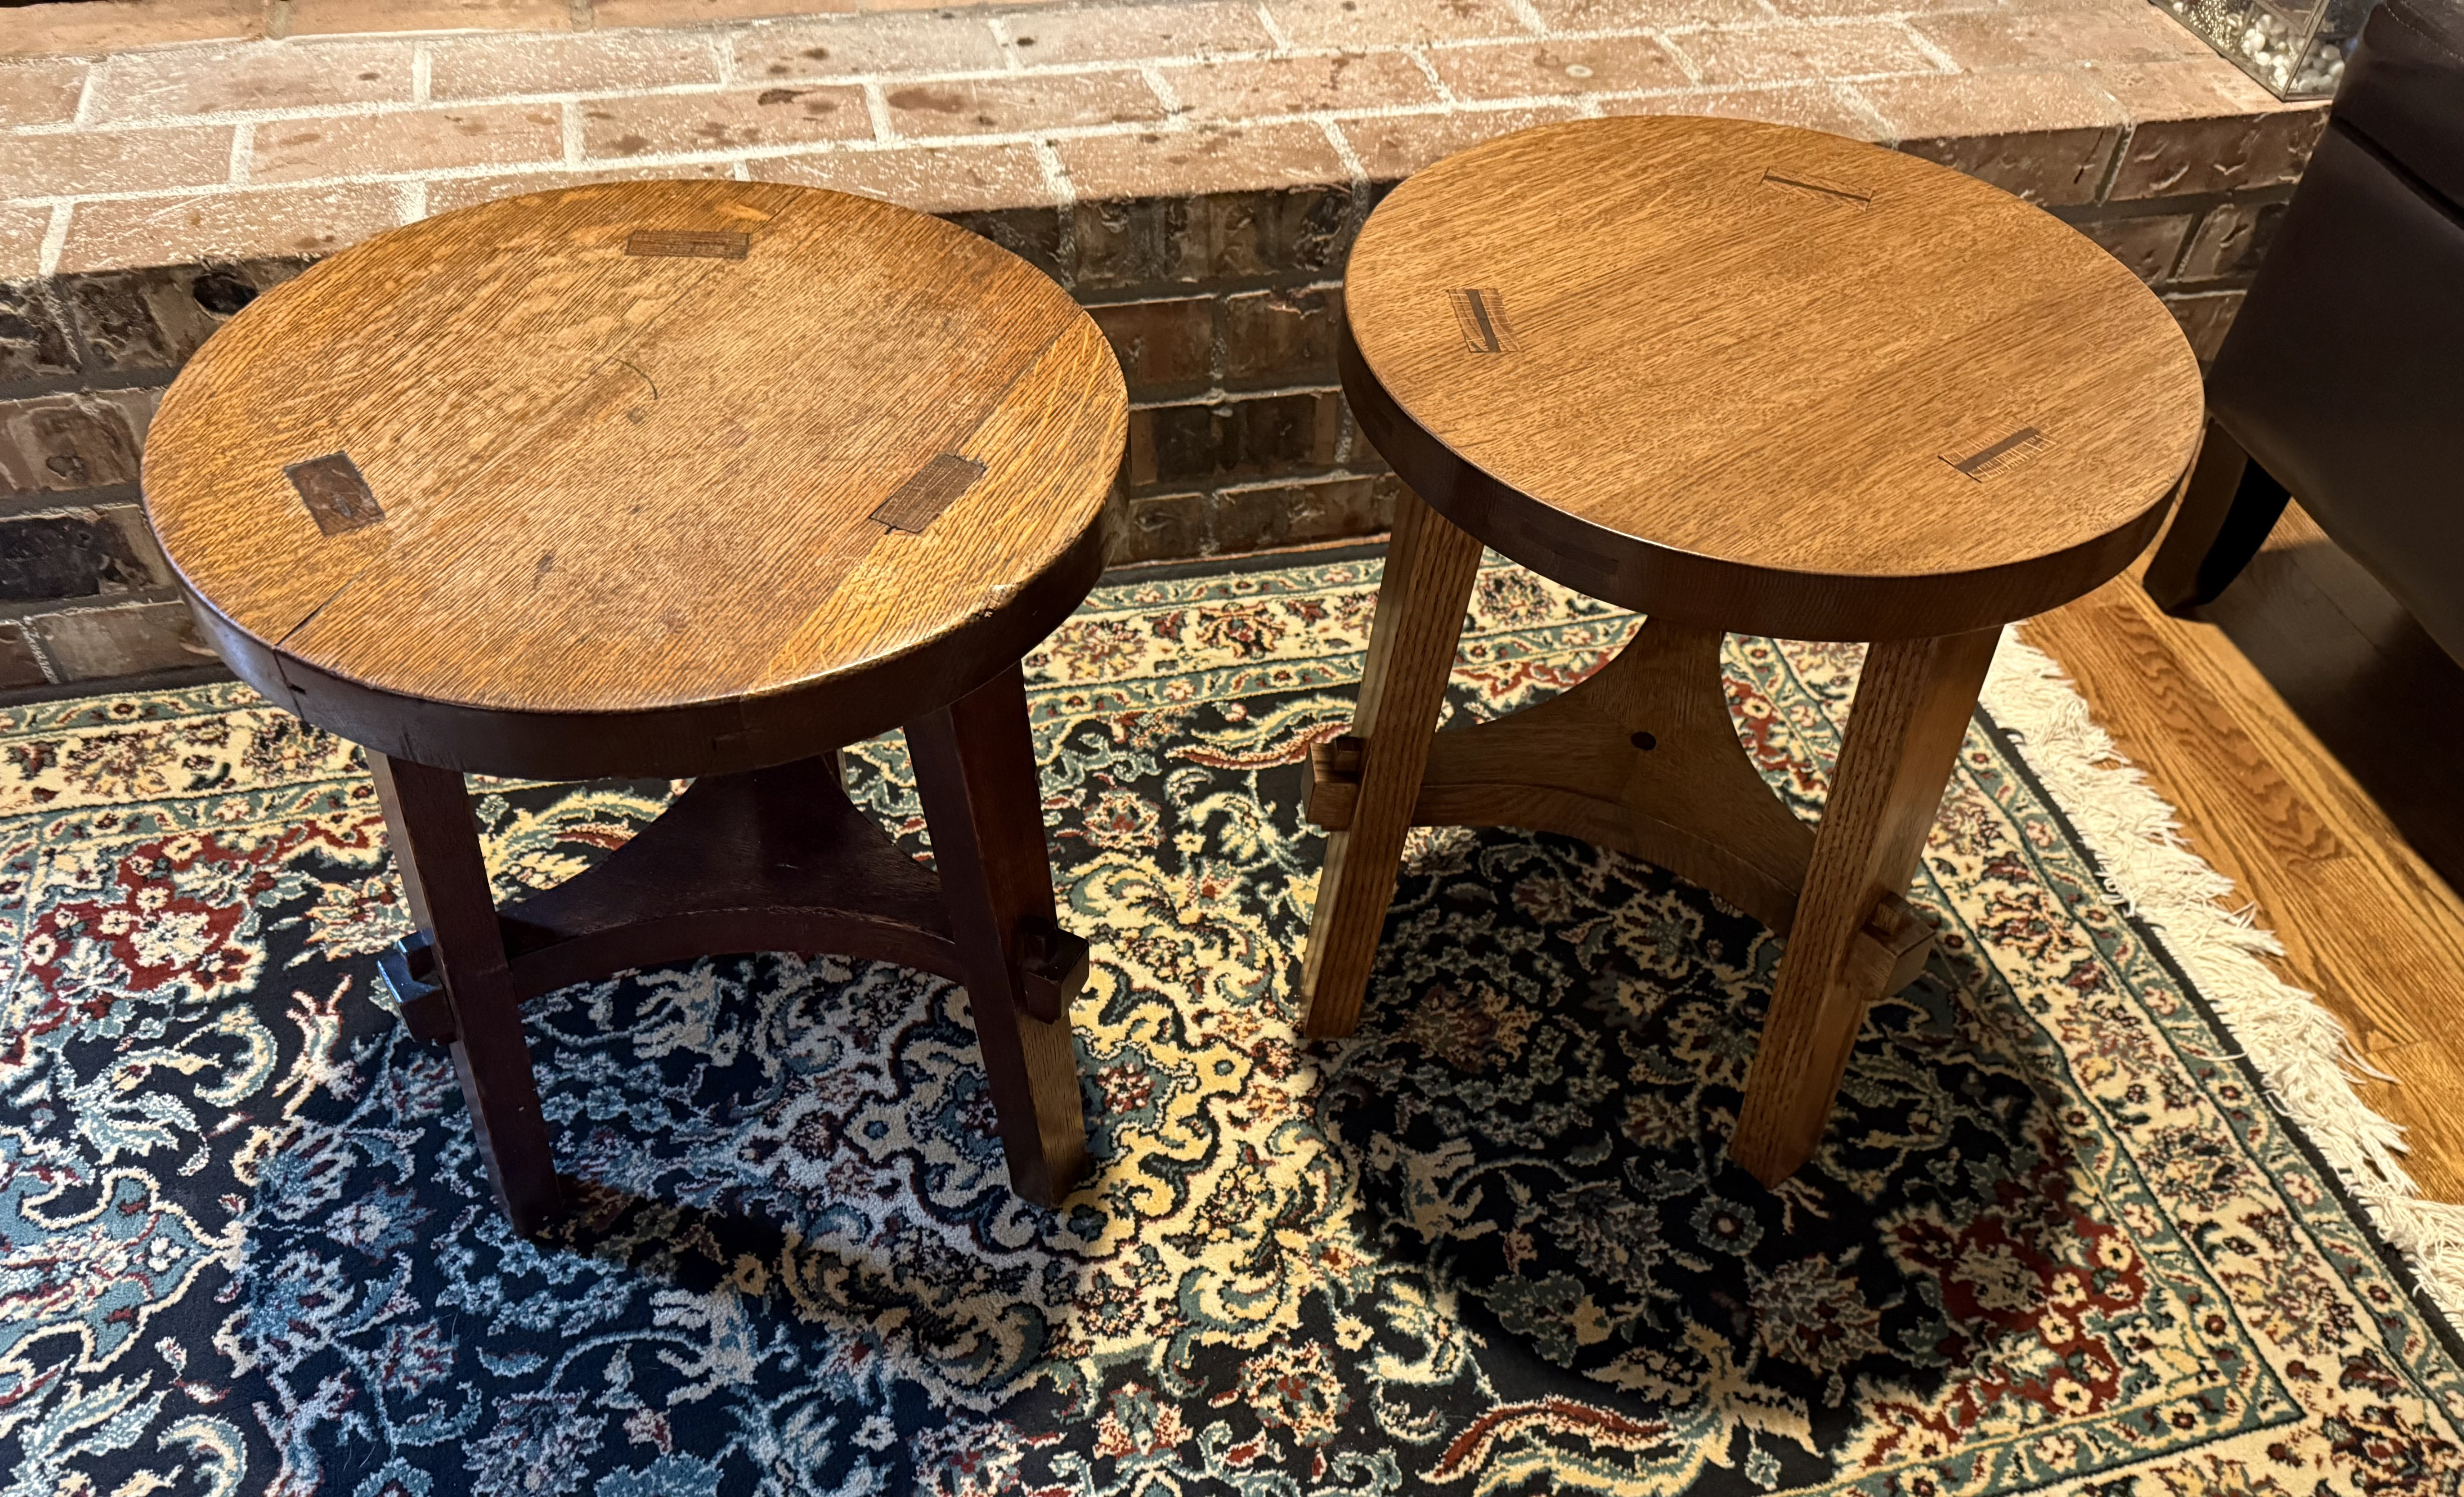
When we were first married we took a trip to visit a friend in Indiana. While there, we visited several antique markets. We found a very unique antique Milking Stool. So, we bought it and brought it back home with us. 50 years later I decided to make a replica of the Milking Stool, using the same joinery and many of the same antique woodworking methods.

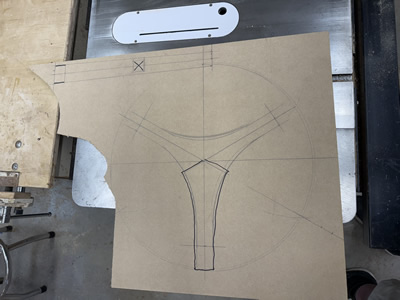
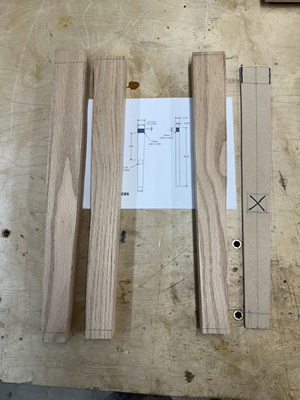
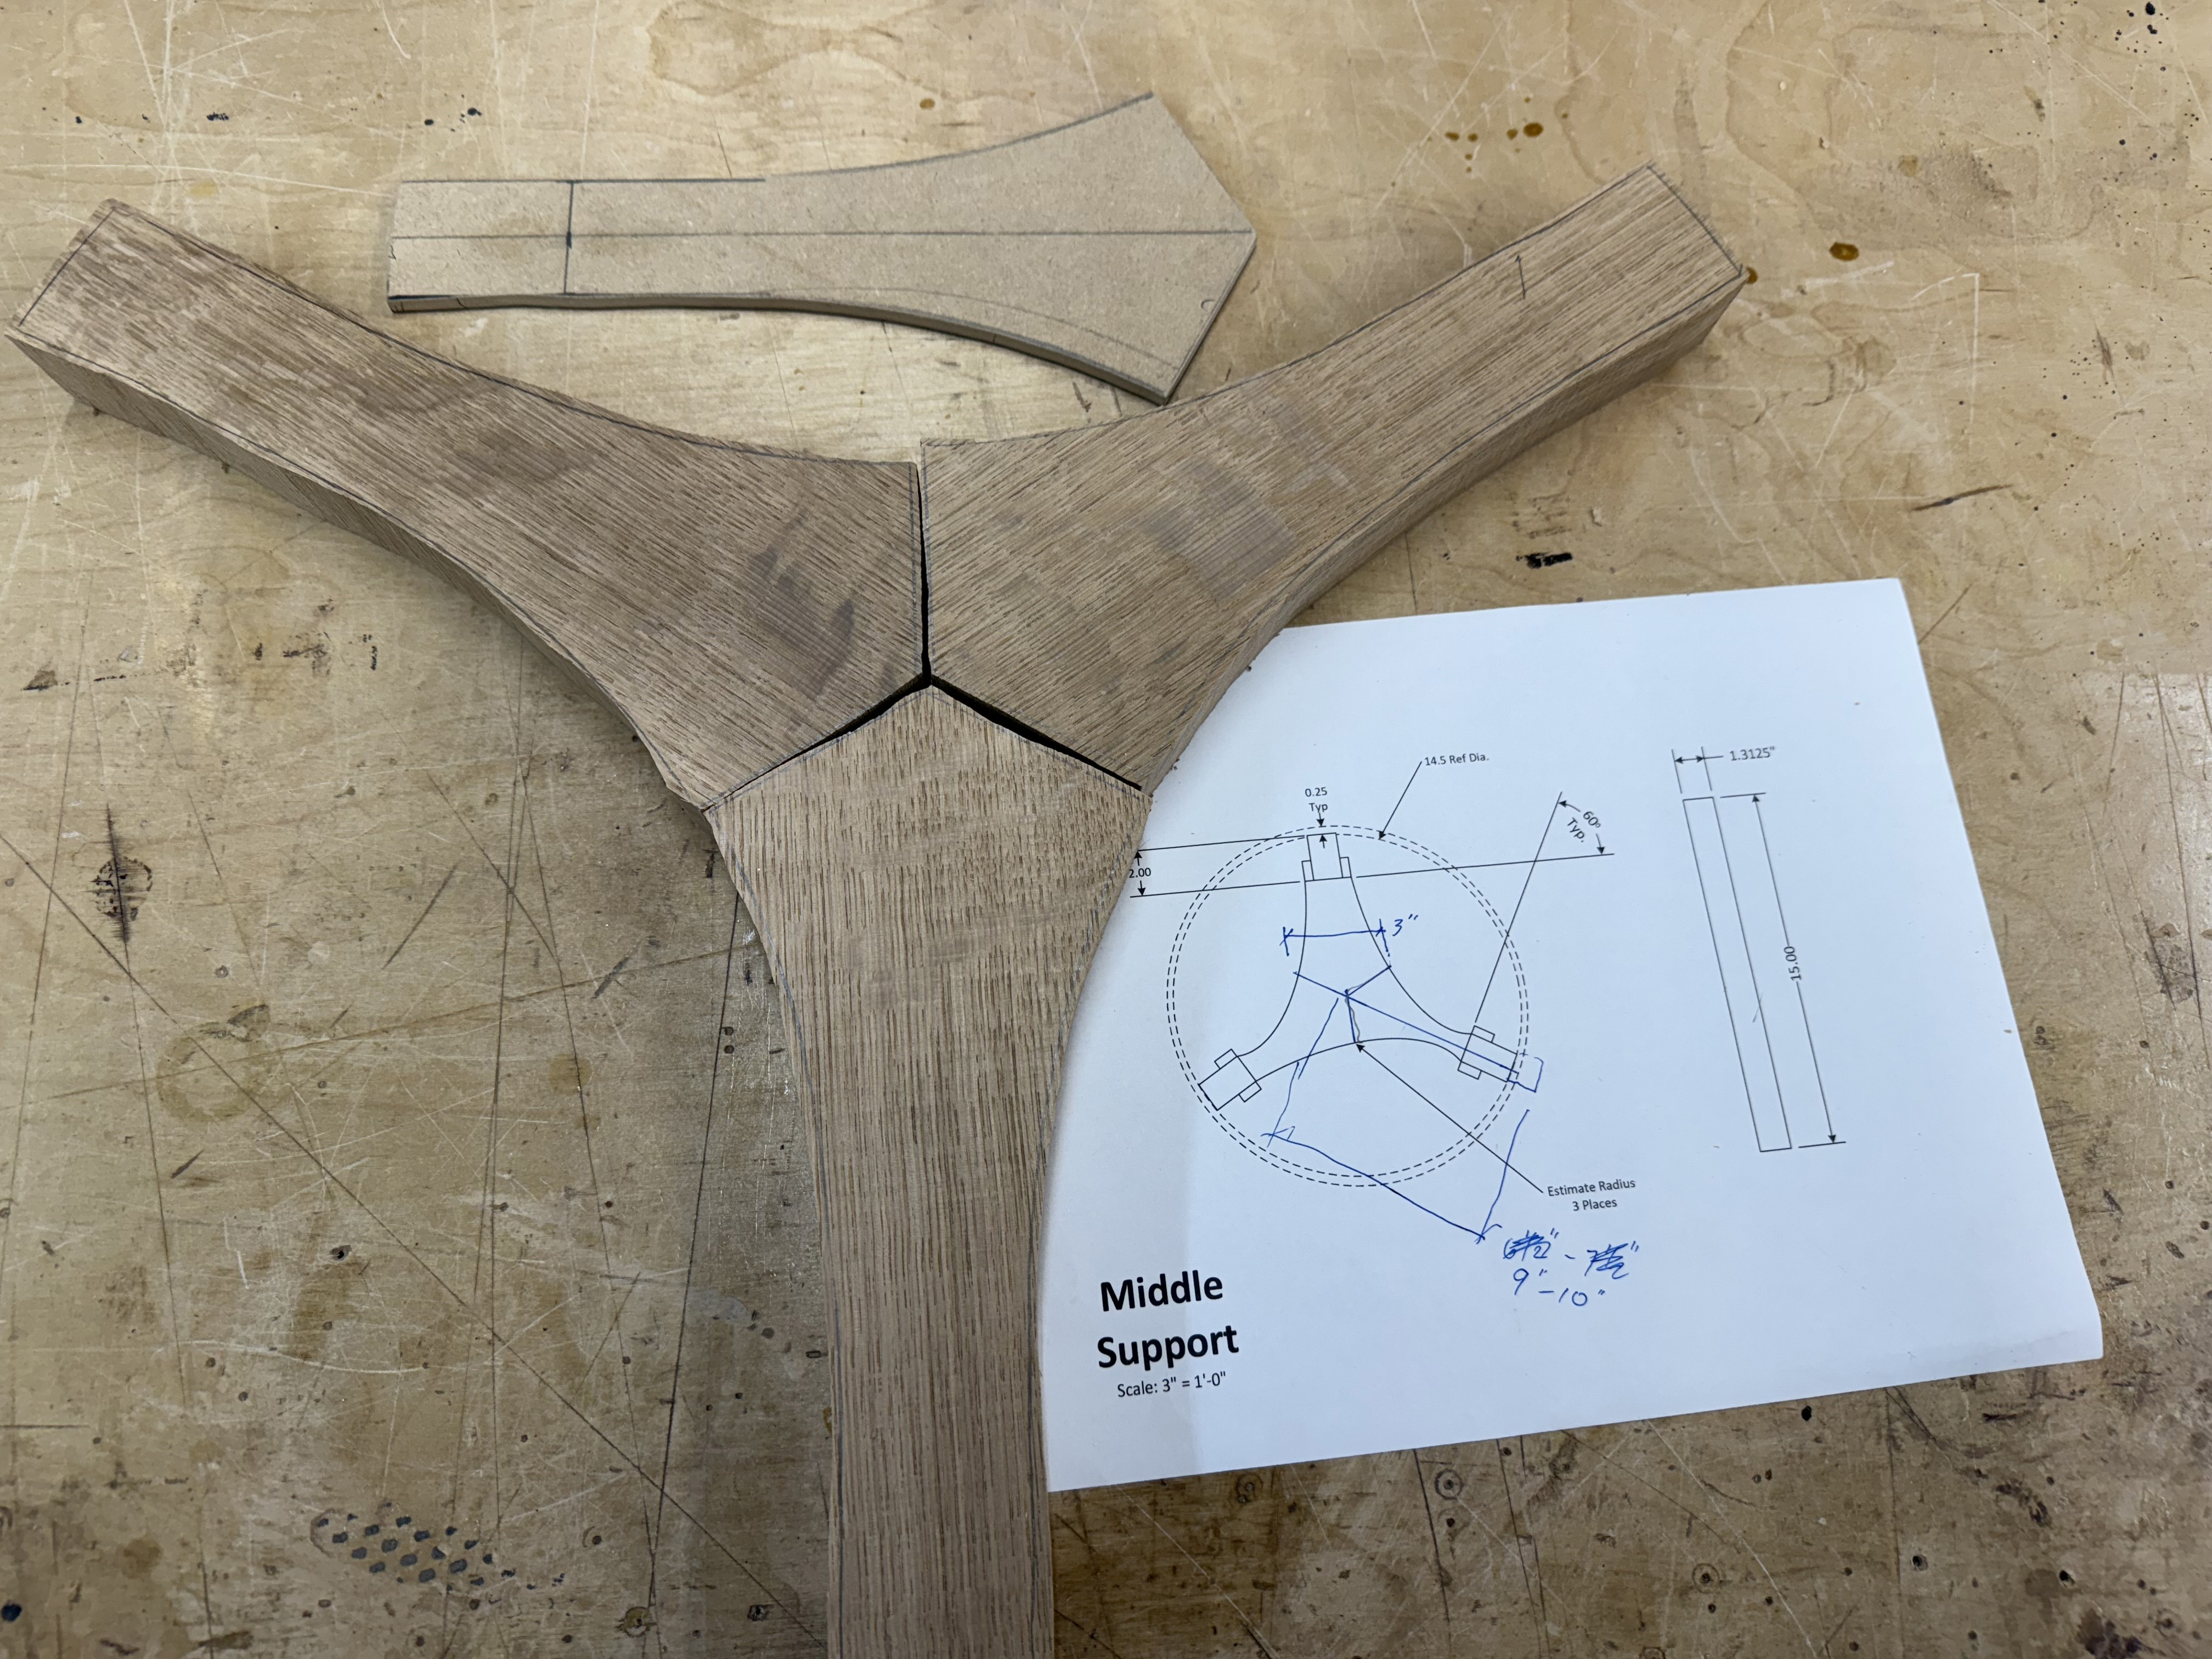
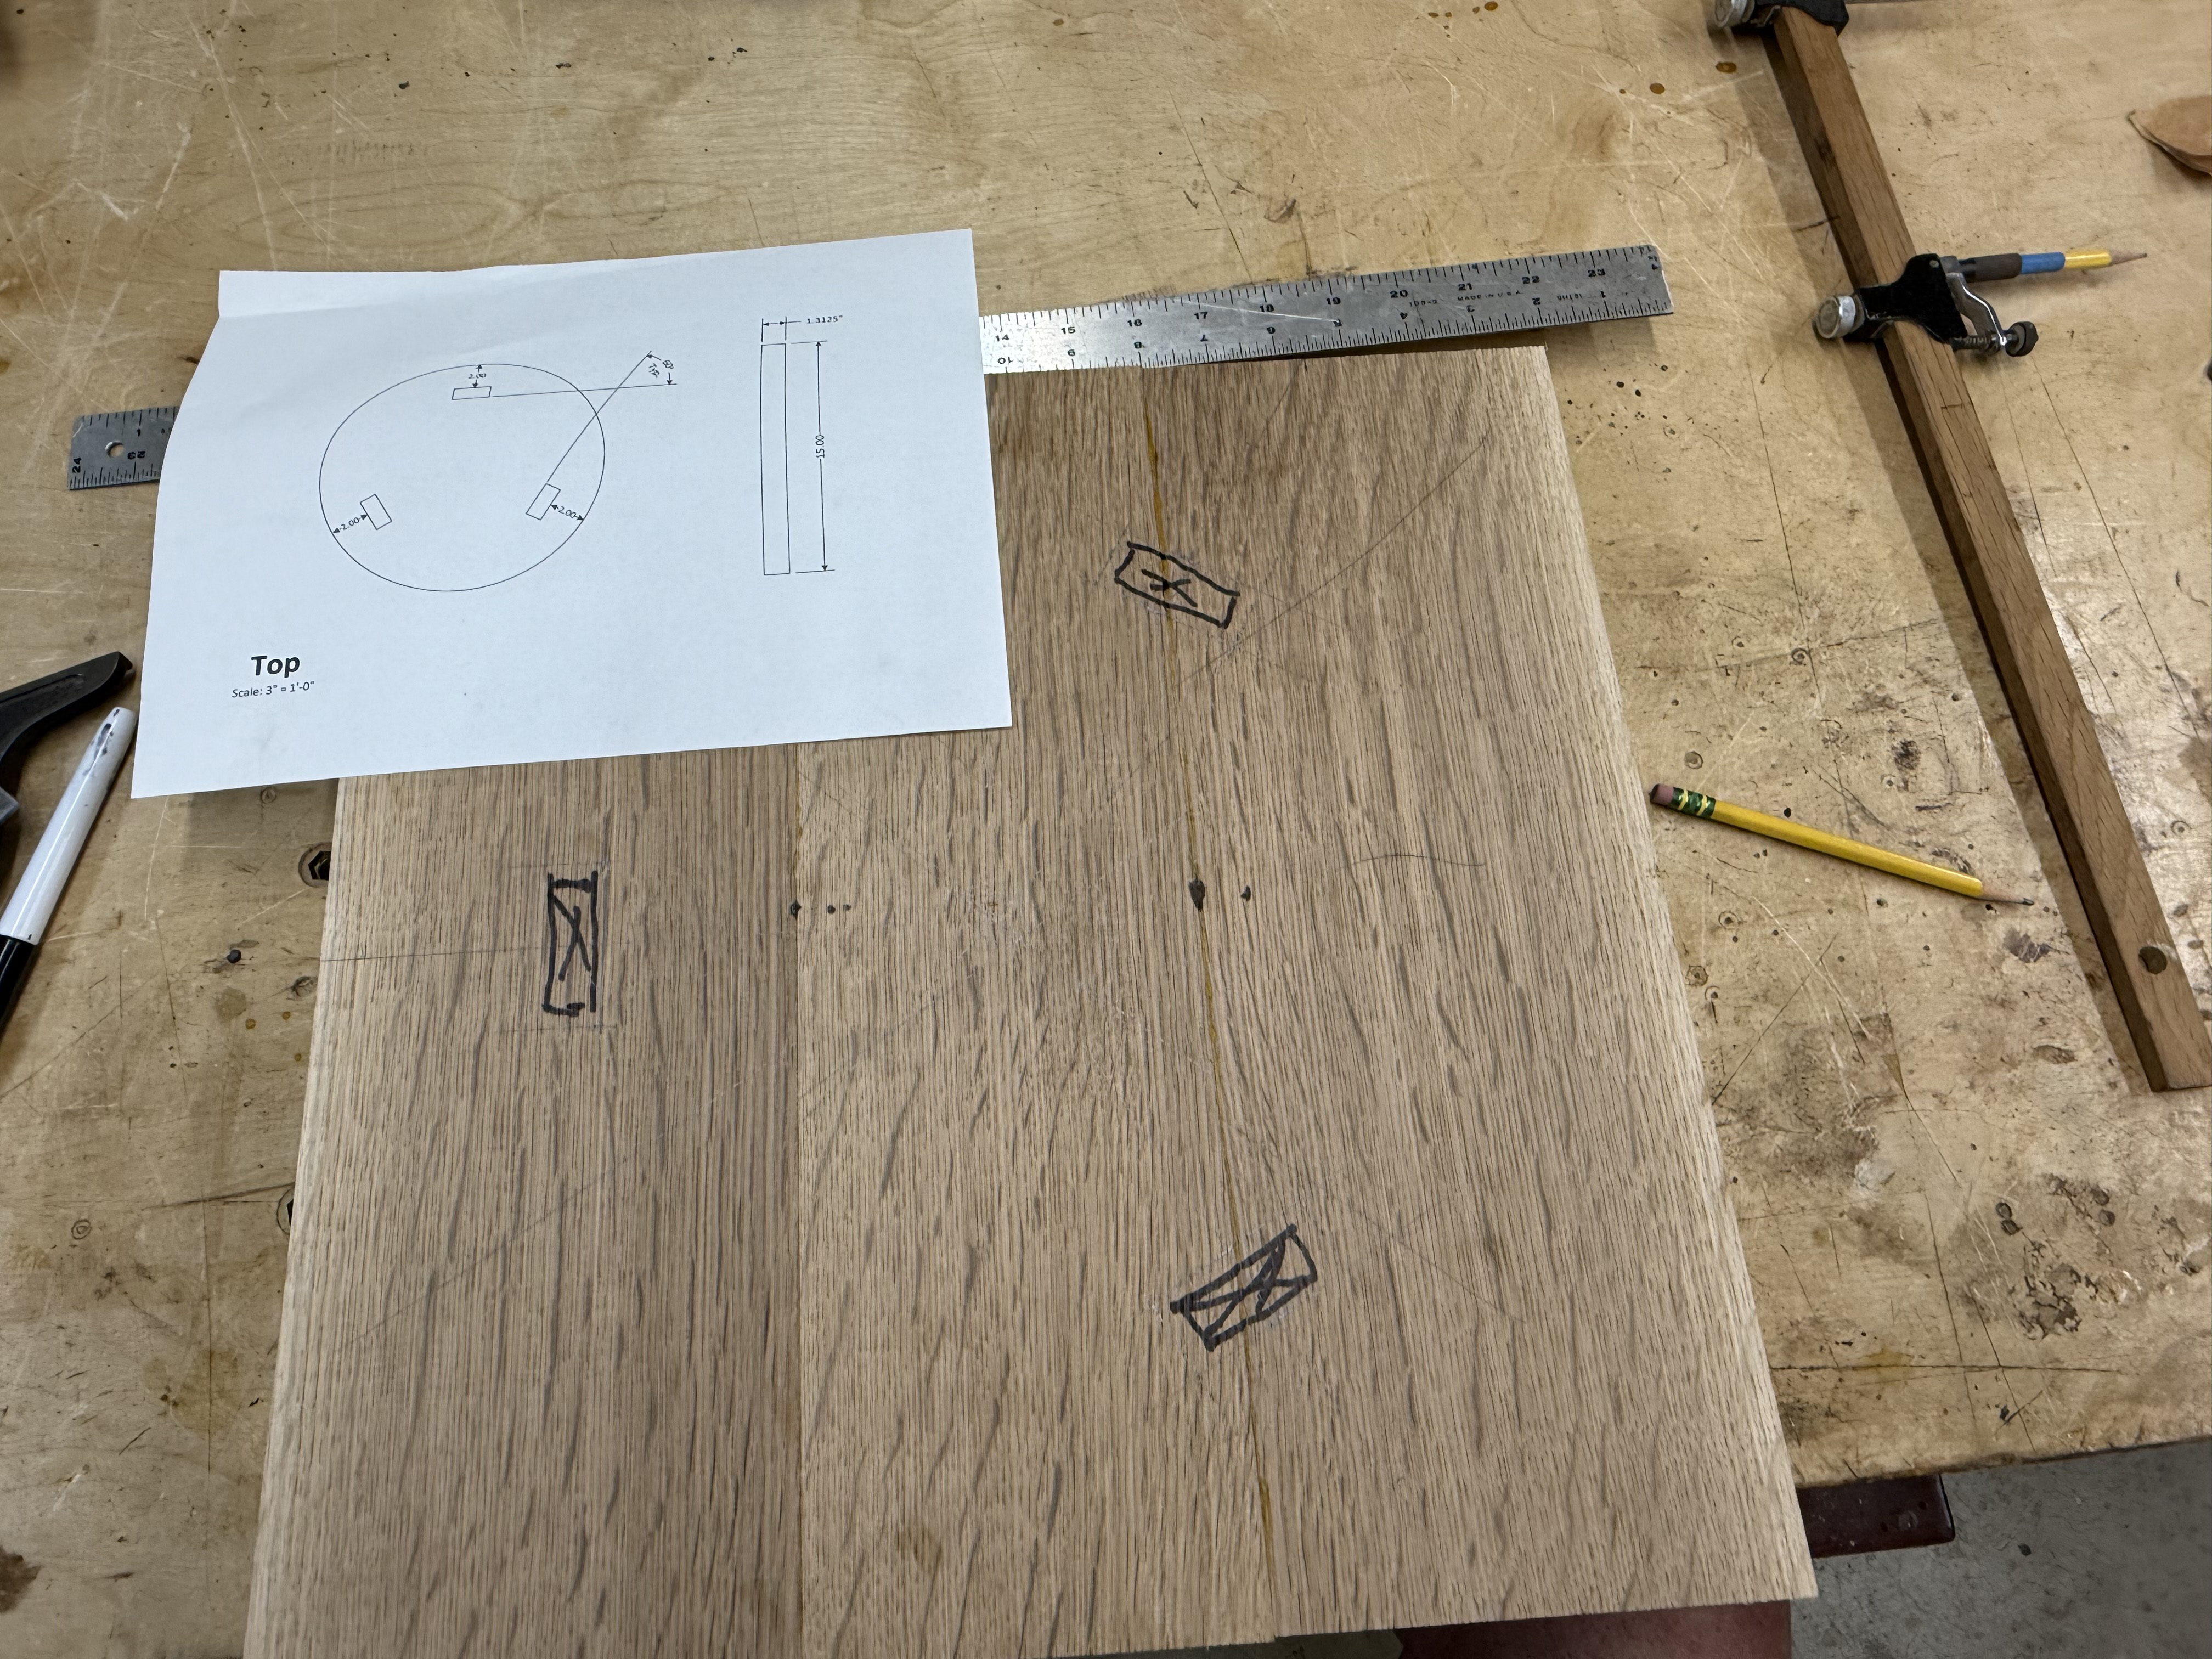
Drawing of Milking Stool - Make a drawing of the componenets first.


The next step was to make templates, or patterns of all the pieces.

Rough cut the bottom support pieces.

Layout the bottom supports to make sure that they will align with the top seat.


Glue up the bottom support. All the joints are spline joints.

It was easier to layout the three mortises while the top was square and a very specific size.

Since my mortising machine couldn't reach the mortises, I had to cut them one at a time by hand. By clamping the perpedicular block on the line of the mortise hole, I was able to get straight and (relatively) accurate mortise holes. This was important because this is the most visible piece of the Milking Stool, the top. This operation took about an hour per hole.

Three mortise holes finished.

Dry fit

It is very important to do a "dry fit" before you glue the stool together. You have to make sure that all the joints are perfect, and you have a plan for clamping the stool together.

I only needed to clamp the bottom support, because the top was clamped with wedges in the top of the stool legs.

Leg wedges installed. These helped to glue the legs in place, for stability and allowing the glue to dry.

The orginial had this detail on each leg.

Stained and ready for finish

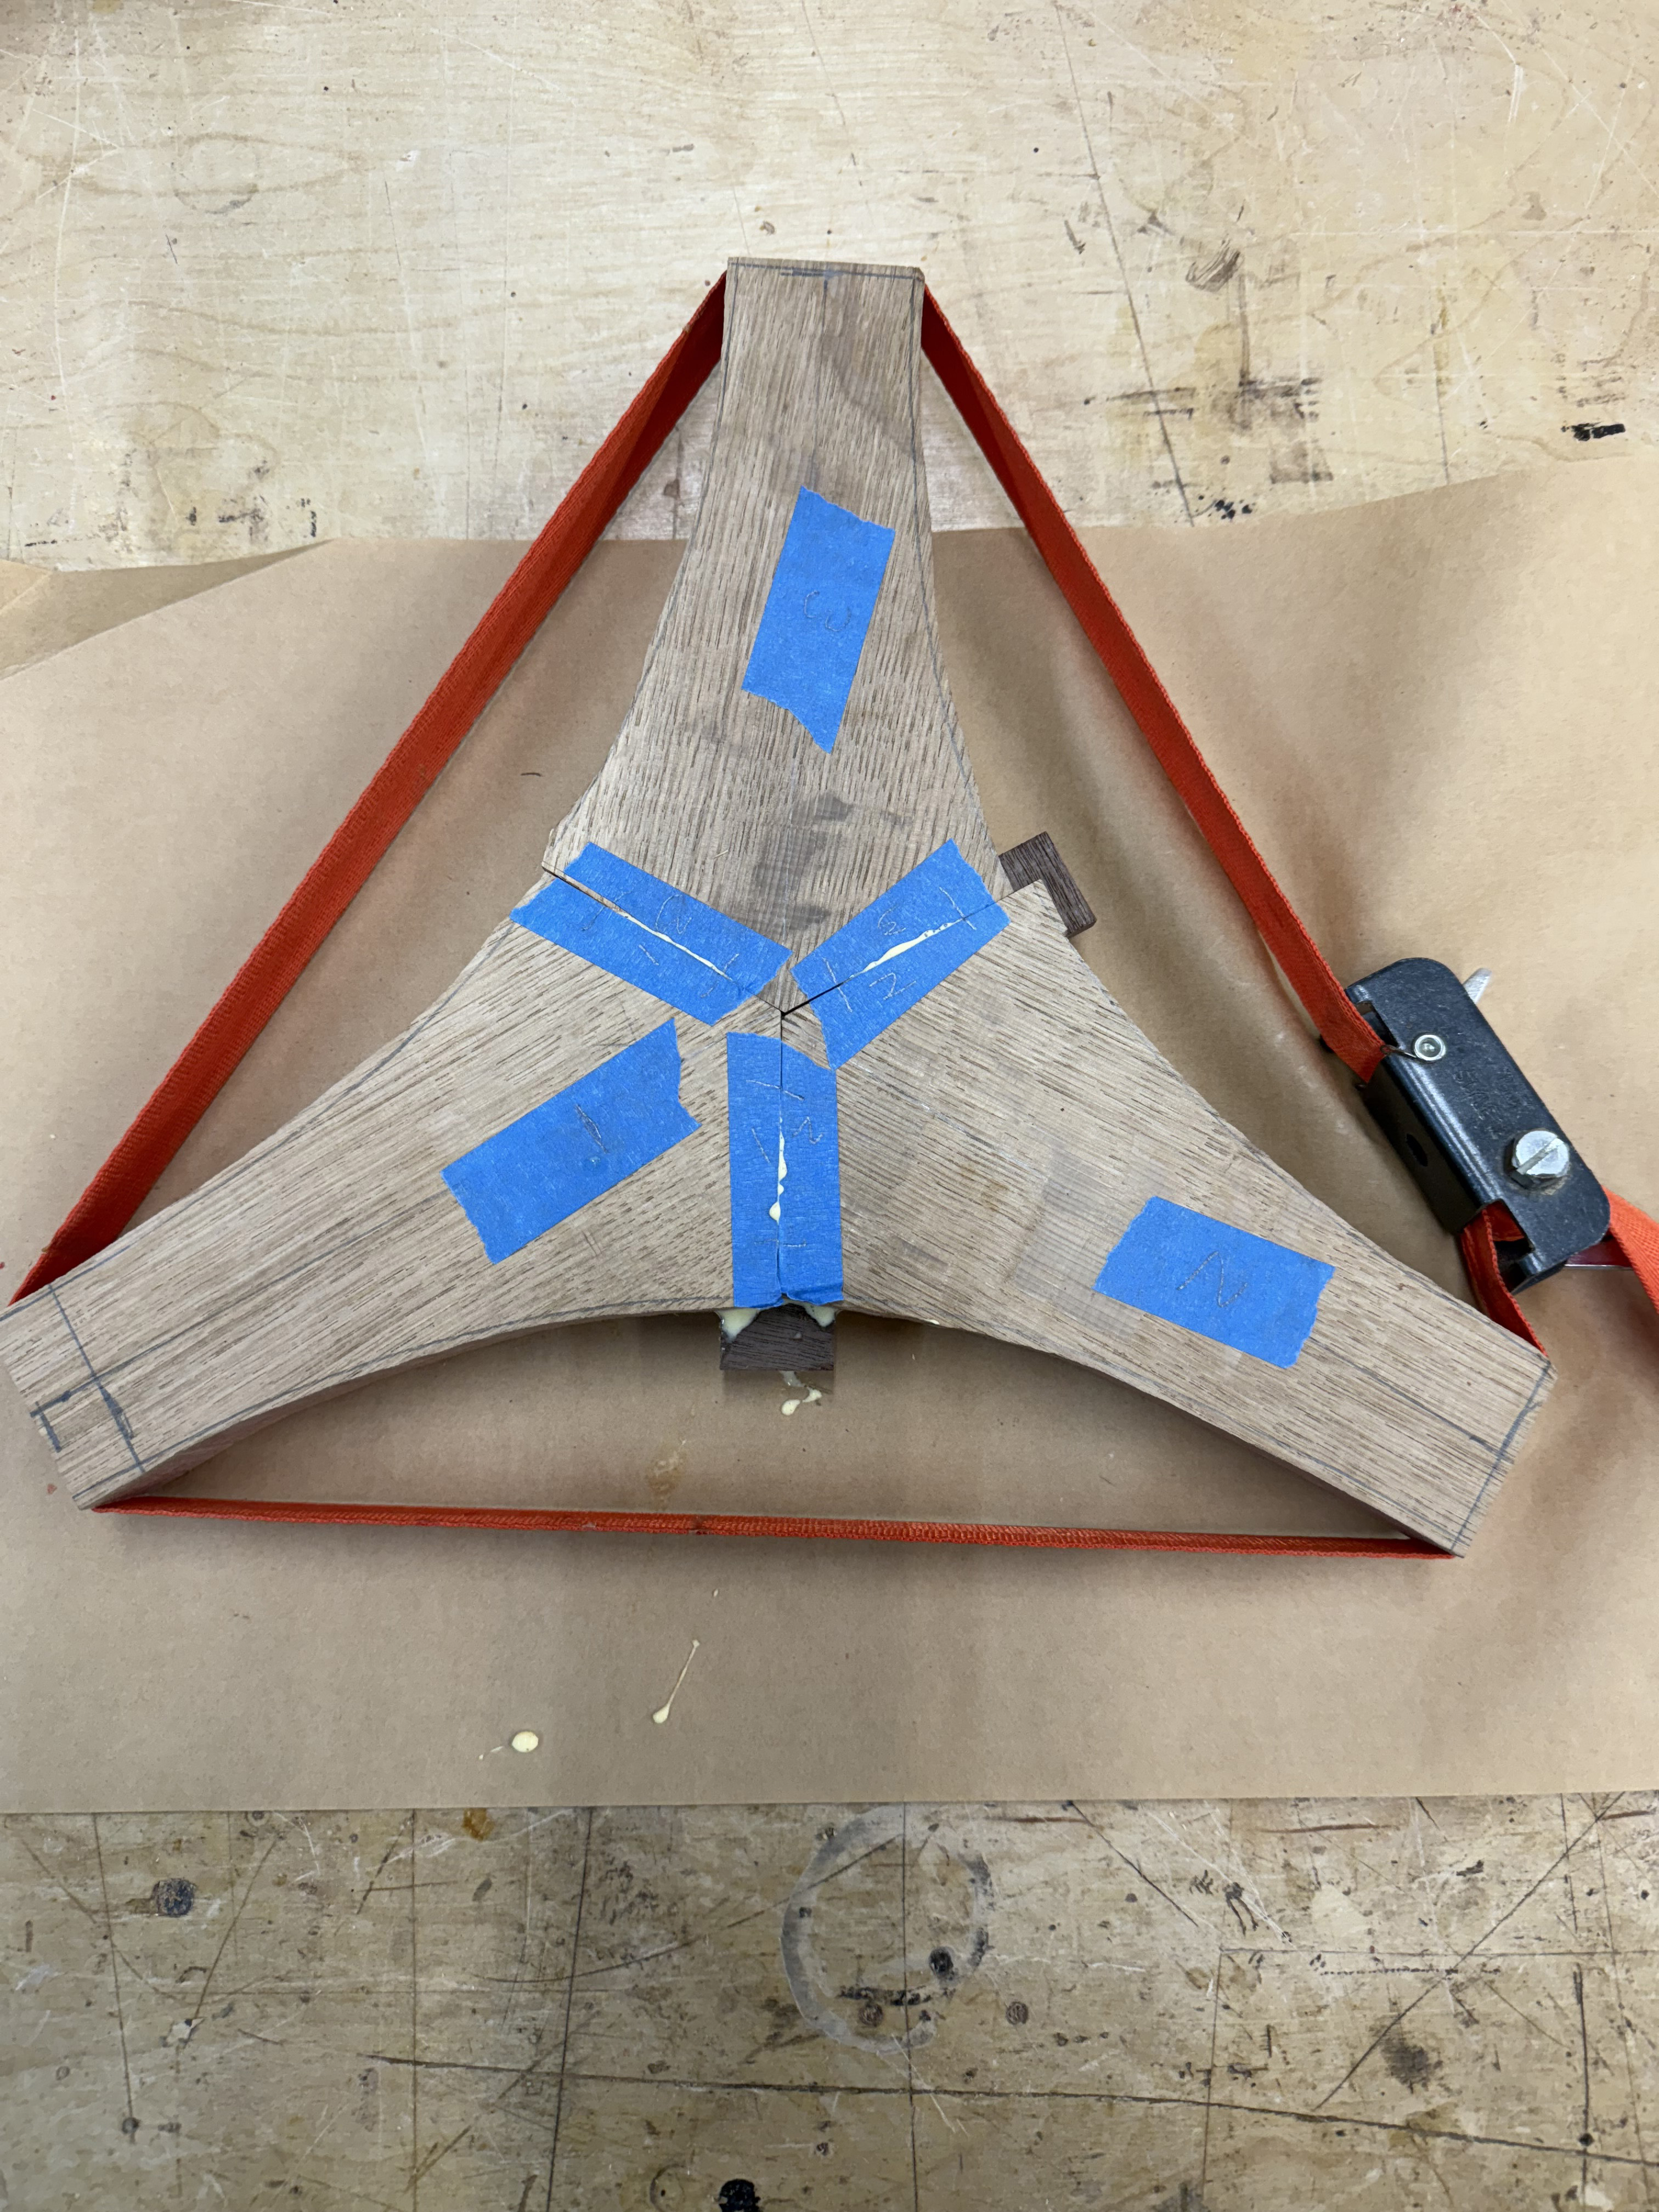
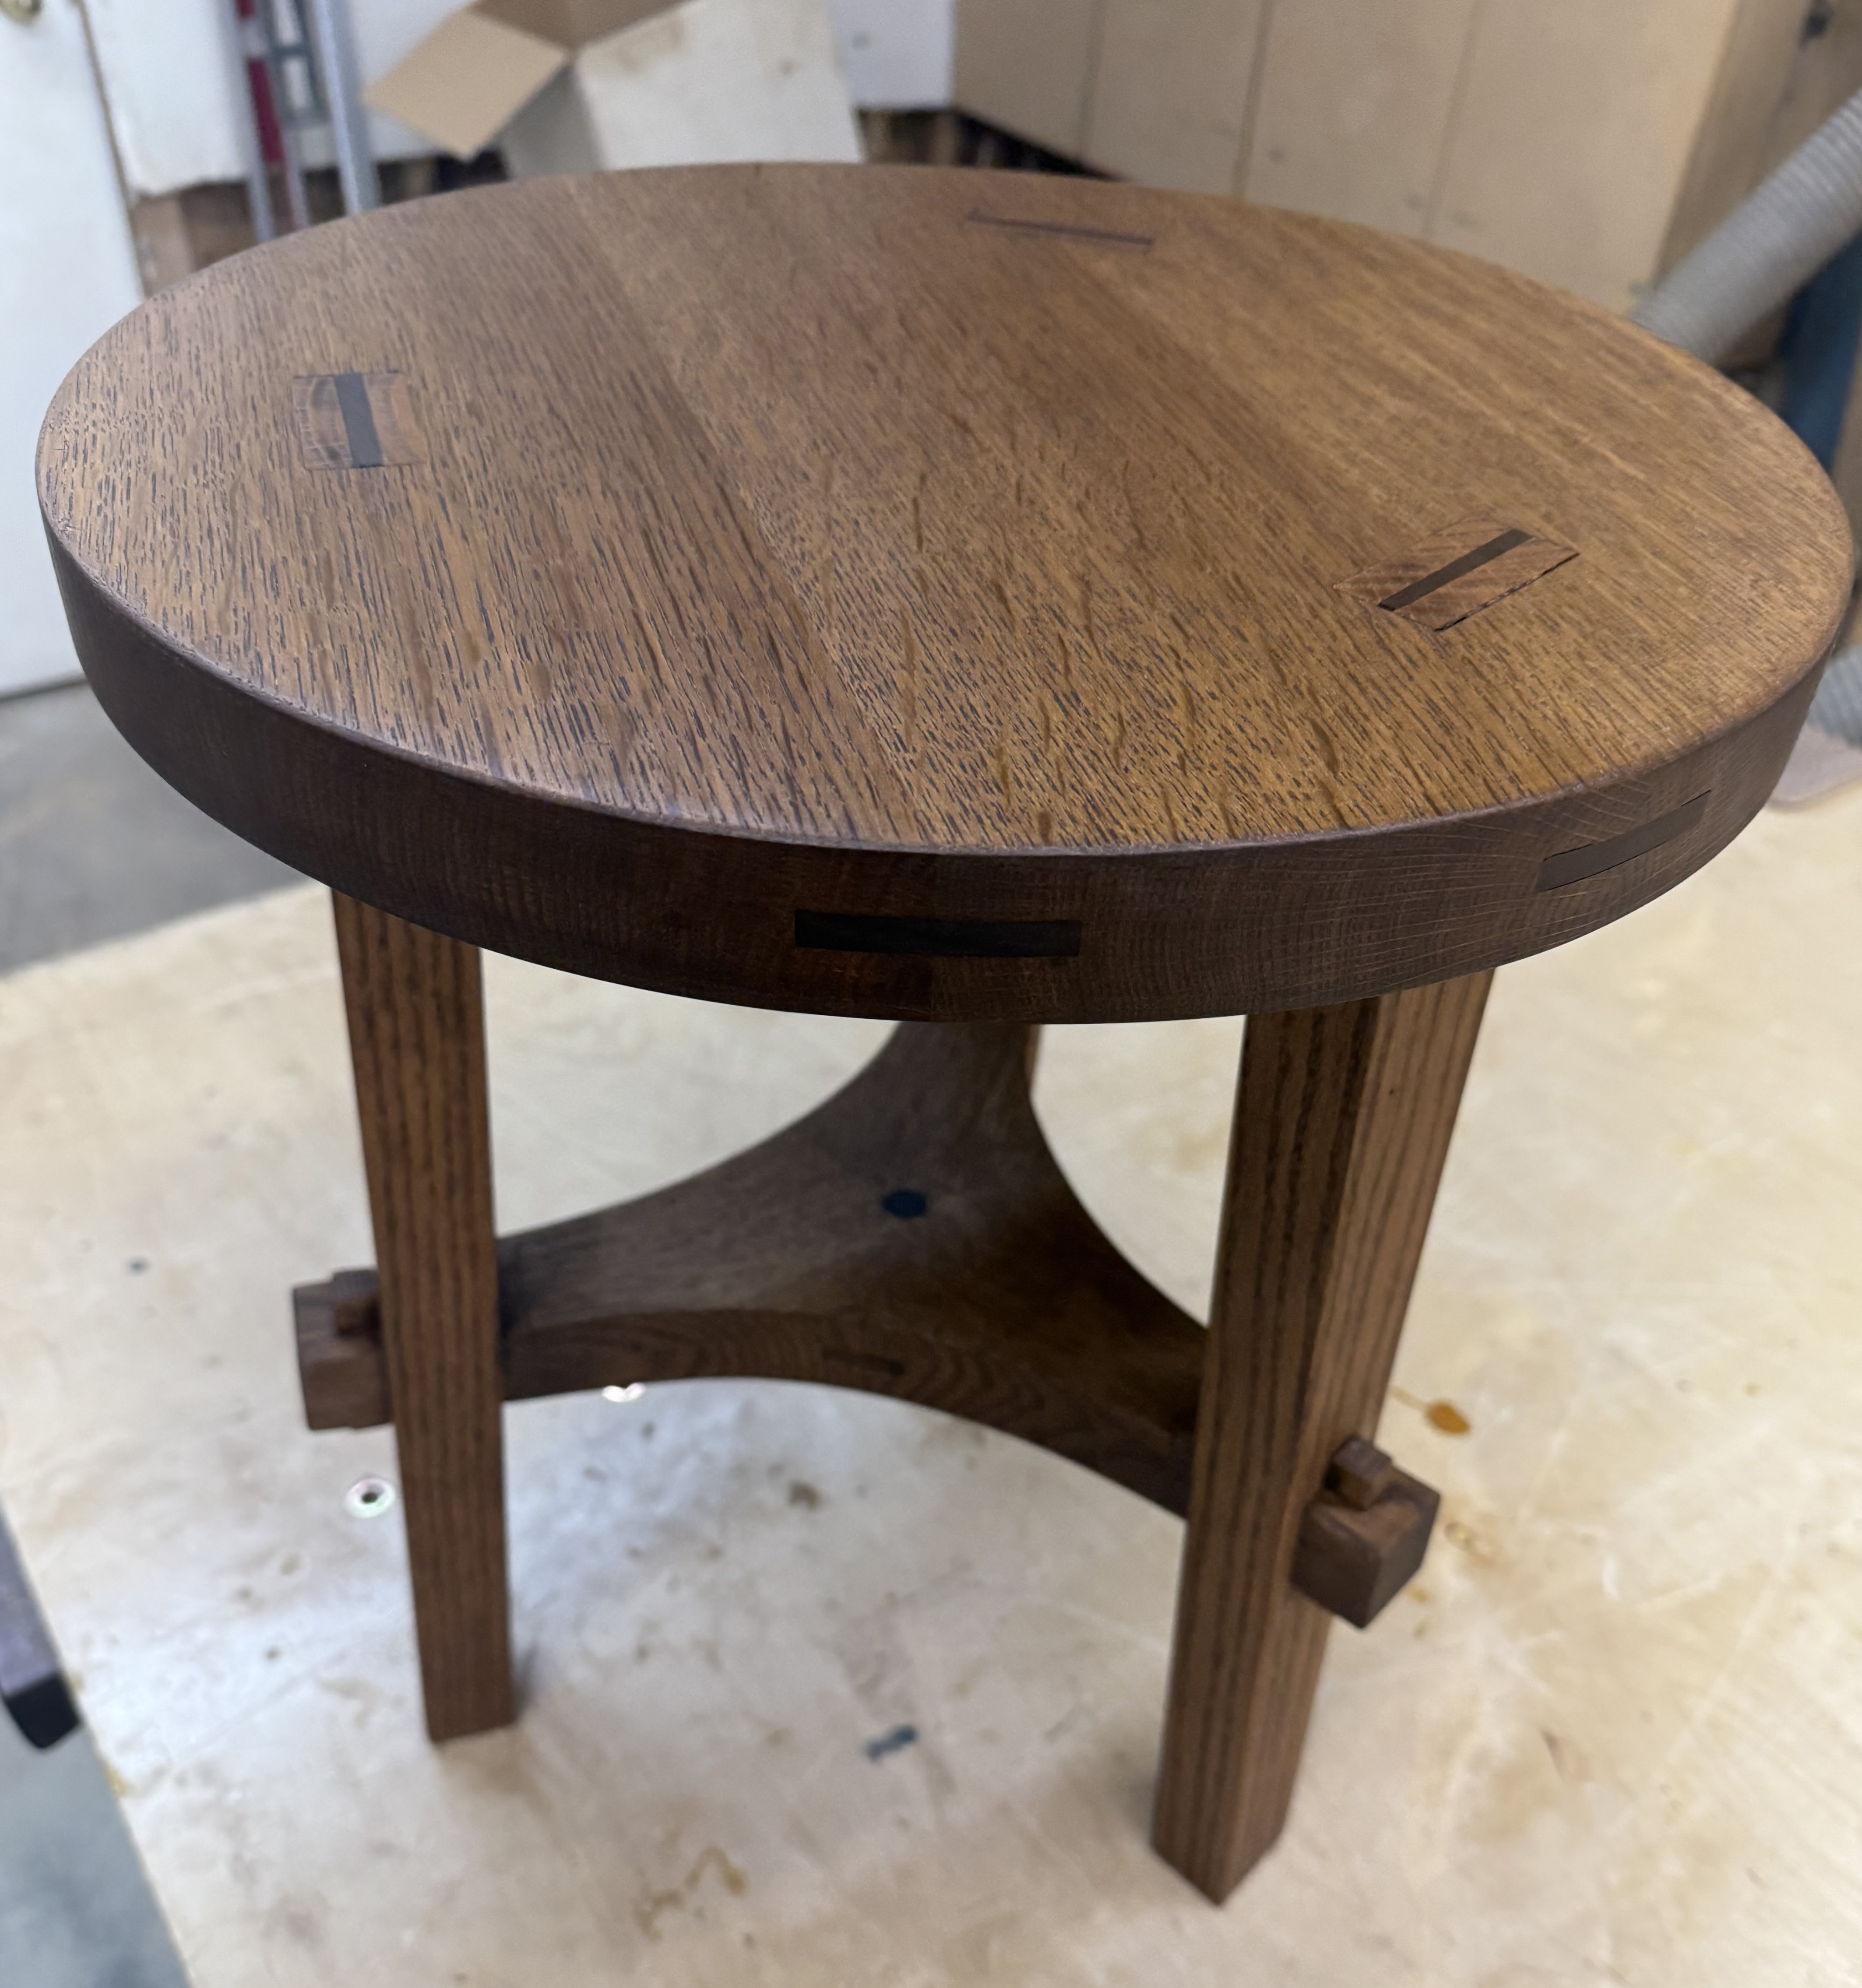
I am very happy with the finished Milking Stool. While you can tell the difference between teh orginal and the copy, they do look very similiar. The most fun was making the virtually the same way as they did in the late 1800's. Fun Project.

Woodworking Index

Home Page